Creating & Editing Session LocationUpdated a year ago
Organizing an event at a spacious venue with a rich program will surely draw a large number of participants. However, with so many sessions taking place in a large space, attendees may become disoriented when looking for the location of the session, which may potentially impact the success of your event.
Why are session locations important?
Session locations are important to ensure that your participants don’t get lost while trying to find where the session is being held at. They are extremely beneficial to events held in large venues or those happening at multiple venues, locations, etc.
However, a picture is worth a thousand words. This is why you can also add an image, for example a map, to a location, which can further facilitate attendees in identifying the precise location of the session they need to visit.
How can I create a new session location?
To create a new location, click on Agenda on the left sidebar.
After that, navigate to the Locations tab. Here, you will see the Add location button.

Click on this button to open the Create location modal.

In the Create location modal, you can type in the name of the location and provide a map or a picture of the venue.
To upload the map of the session location, simply click on the Upload location image button.
When you’re finished, simply click on Save.
How can I edit a session location?
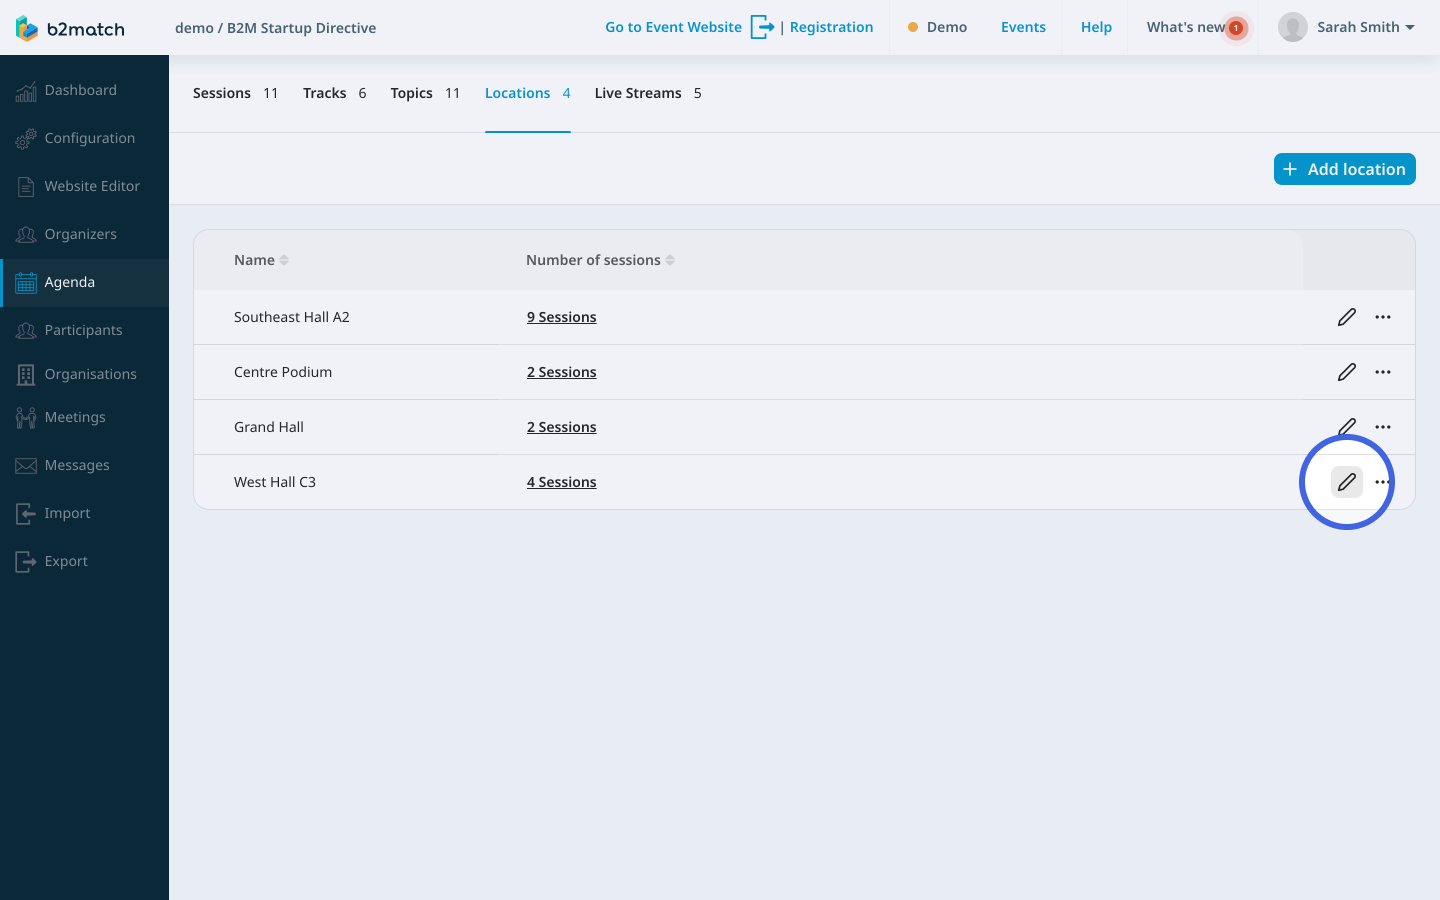
The first step to editing a location is clicking on Agenda on the left sidebar and navigating to the Locations tab.
From the list of locations, find the one you want to edit and click on the pencil icon to open the Update location modal.
Here, you can type in a new location name, or change the image you uploaded.
If you didn't find an answer to your questions, please get in touch with the Support Team here.