Creating Meeting BlocksUpdated a year ago
One of the most important aspects of hosting an event is providing attendees with an effective way to connect with one another. One way to facilitate this is through meeting blocks.
Meeting blocks are a great way to organize and schedule multiple meetings in a single time slot. By creating meeting blocks, you can ensure that your attendees are making the most out of their time at your event.
How can I create a meeting block?
First, navigate to Networking from the left sidebar of the Organizer's Tool and click on Configuration.
Next, access the Meeting Blocks tab.
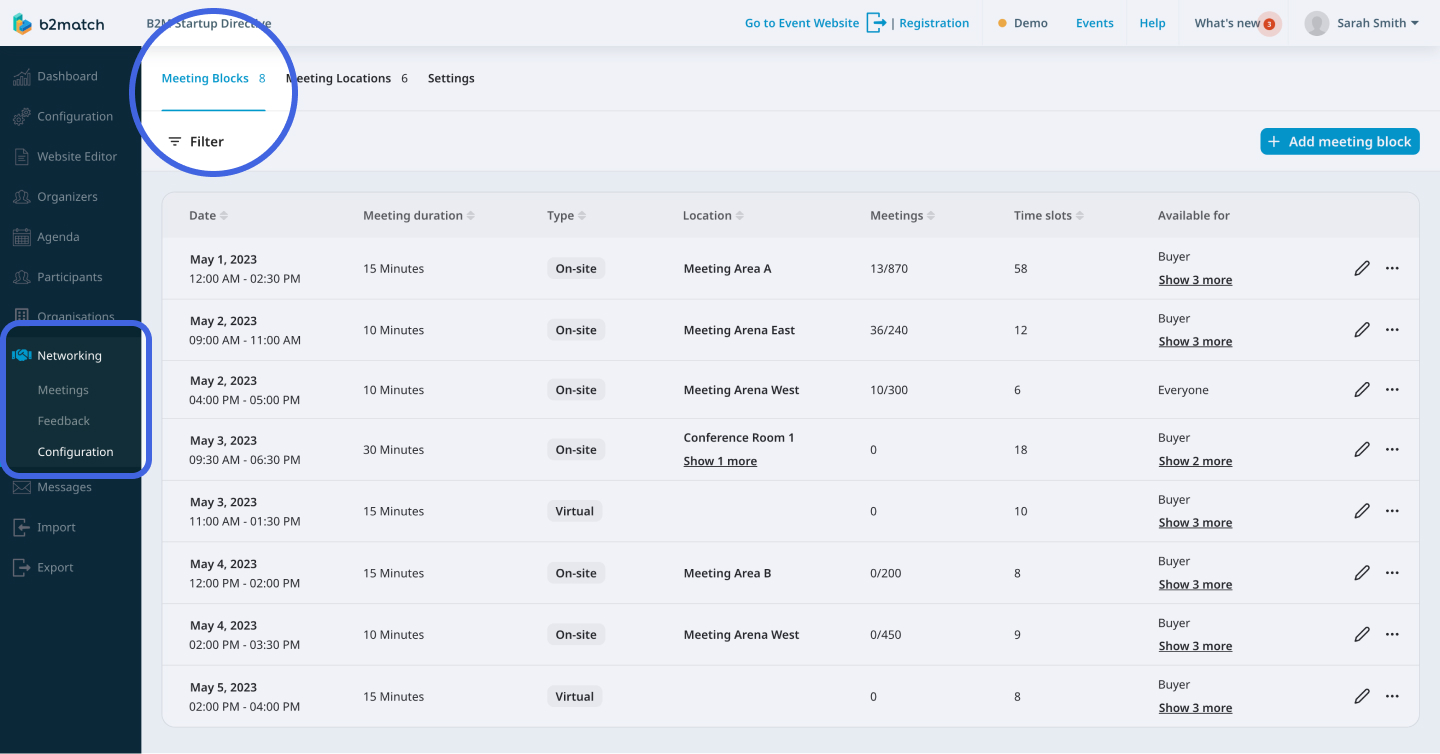
To create a new meeting block, click on the Add meeting block button in the upper right corner.

This will open the Create meeting block form.
In the Create meeting block form, set the date of the meeting block, and configure the duration by indicating the start and end time.
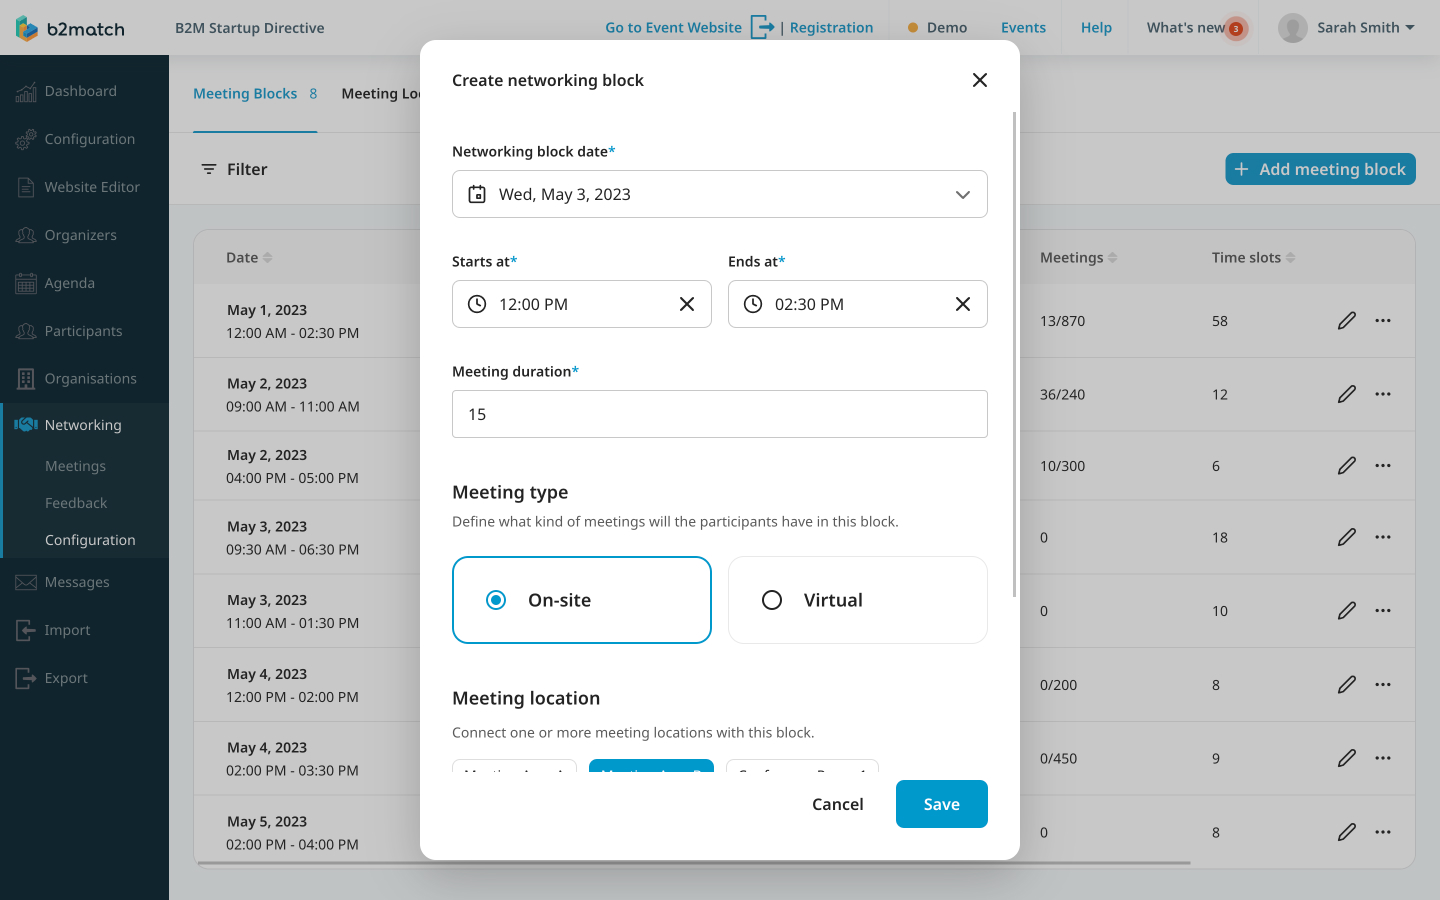
Next, define the meeting duration in minutes.
When defining the meeting duration, you are defining the duration of each individual meeting time slot within the meeting block, rather than the duration of the entire block itself.
When setting up a meeting block lasting 1 or 2 hours, it's important to configure the meeting duration in a way that maximizes efficiency. Optimal configurations include 15, 20, or 30-minute intervals.
When defining the meeting duration, make sure that you don’t have unallocated time in the meeting block. For example, if the meeting block starts at 9 and ends at 11, but you set the meeting duration to 45 minutes, you will create two time slots, one from 09:00 to 09:45 and the other from 09:45 to 10:30. Therefore, the last 30 minutes in this meeting block will not be used by anyone.
After that, define the meeting type. Choose between the on-site and virtual meeting type.
Then, select the meeting location where the meetings will take place.

Finally, define the registration rules by selecting the participant types that are allowed to sign up for the block. Then, click on Save.
If you didn't find an answer to your questions, please get in touch with the Support Team here.