Editing Event InformationUpdated 9 months ago
When you first create an event, you are asked to provide general information about it, such as the name of your event, topic, language, date, venue time zone and country. However, sometimes plans may change, requiring you to be flexible and able to edit event details.
How can I edit my event's information?
First, access Configuration from the left sidebar of the Organizer's tool.
In the Event Settings section, click on Event Information.
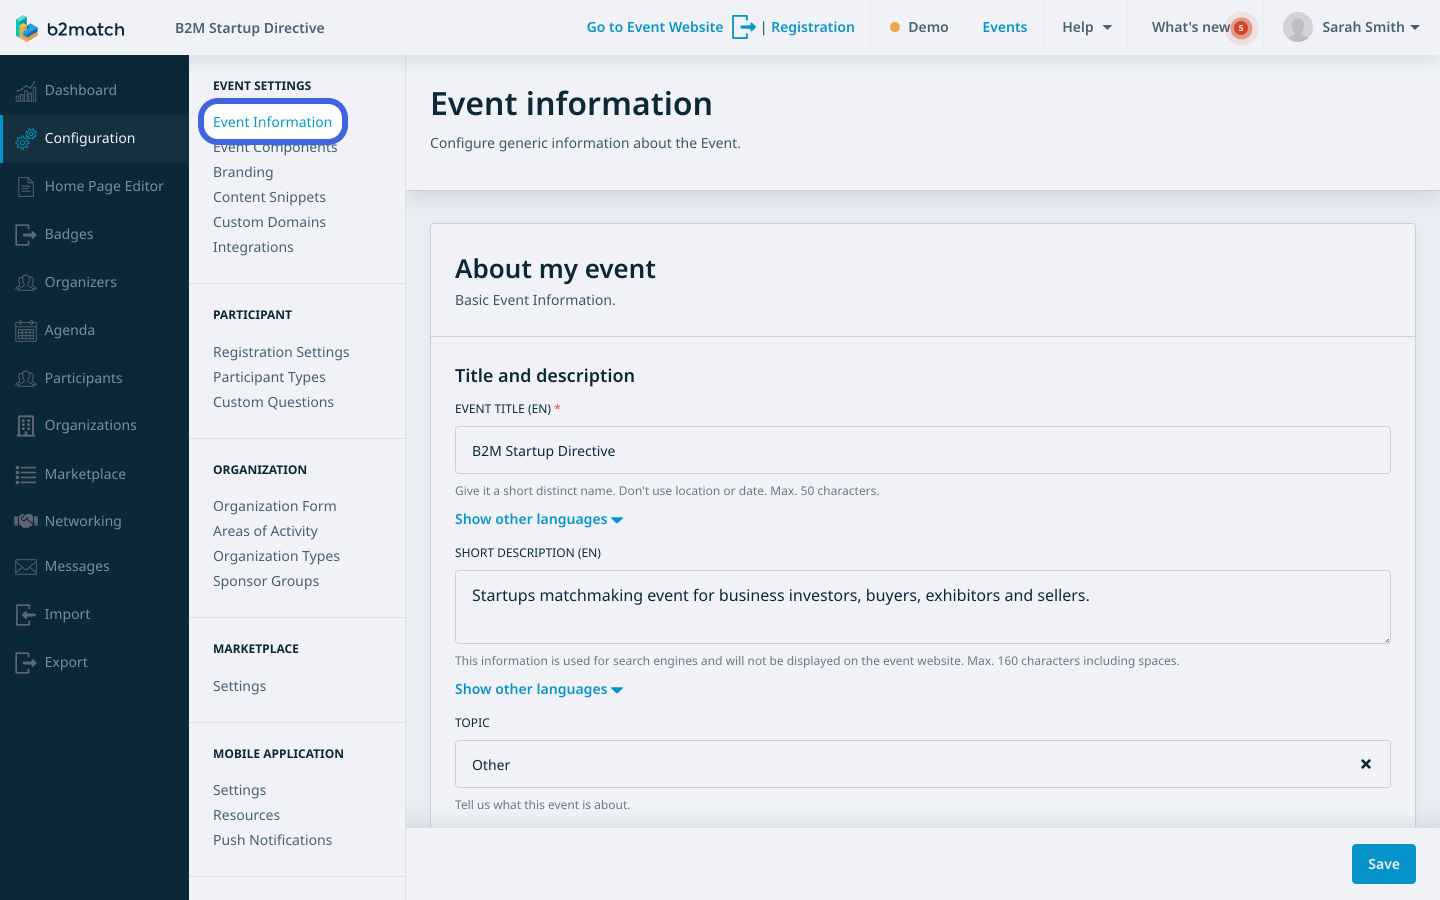
Here, you can configure generic information about your event.
What information can I edit?
The Event Information page is organized into different sections:
About my event
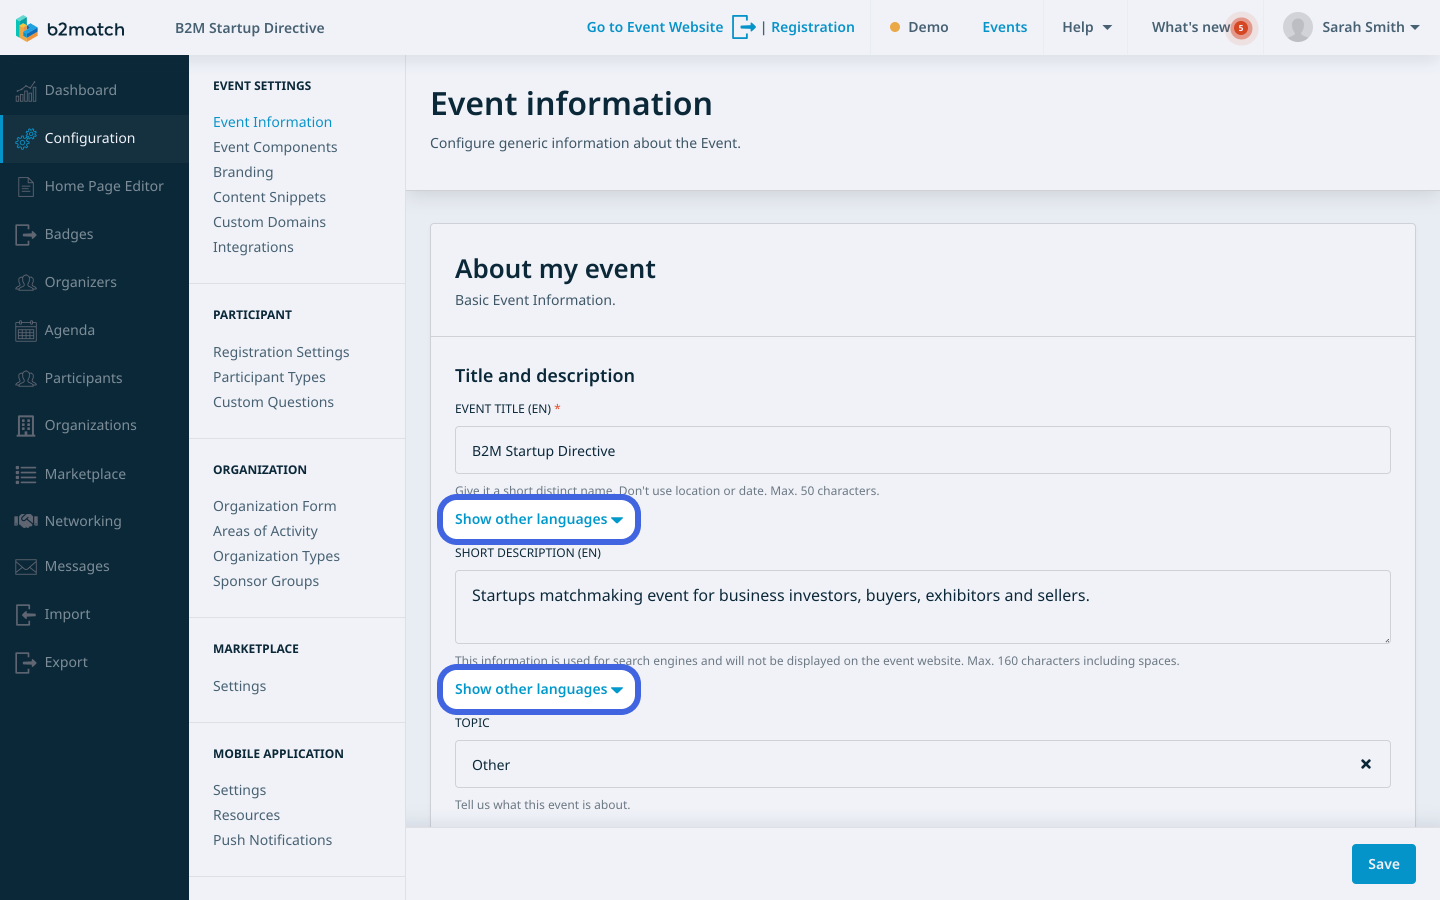
In the About my event section, you can edit basic event details, including the event title, a short description of up to 160 characters (including spaces), and the event topic. If you have set up a multilingual event, you should also provide the event title and short description in those languages. To add the title and description in other languages, click on Show other languages below the fields.
Event Promotion
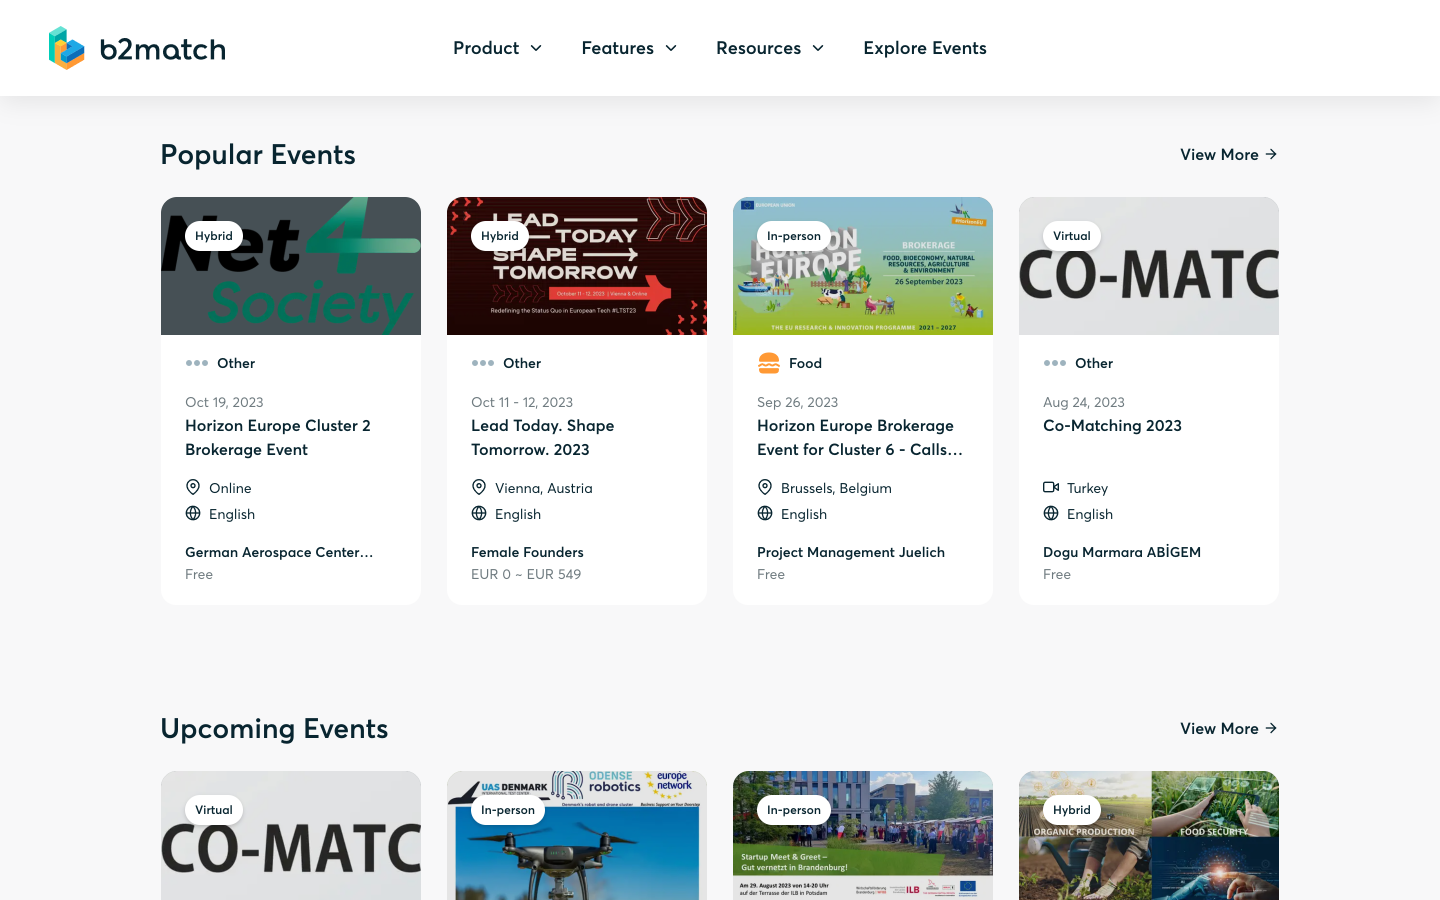
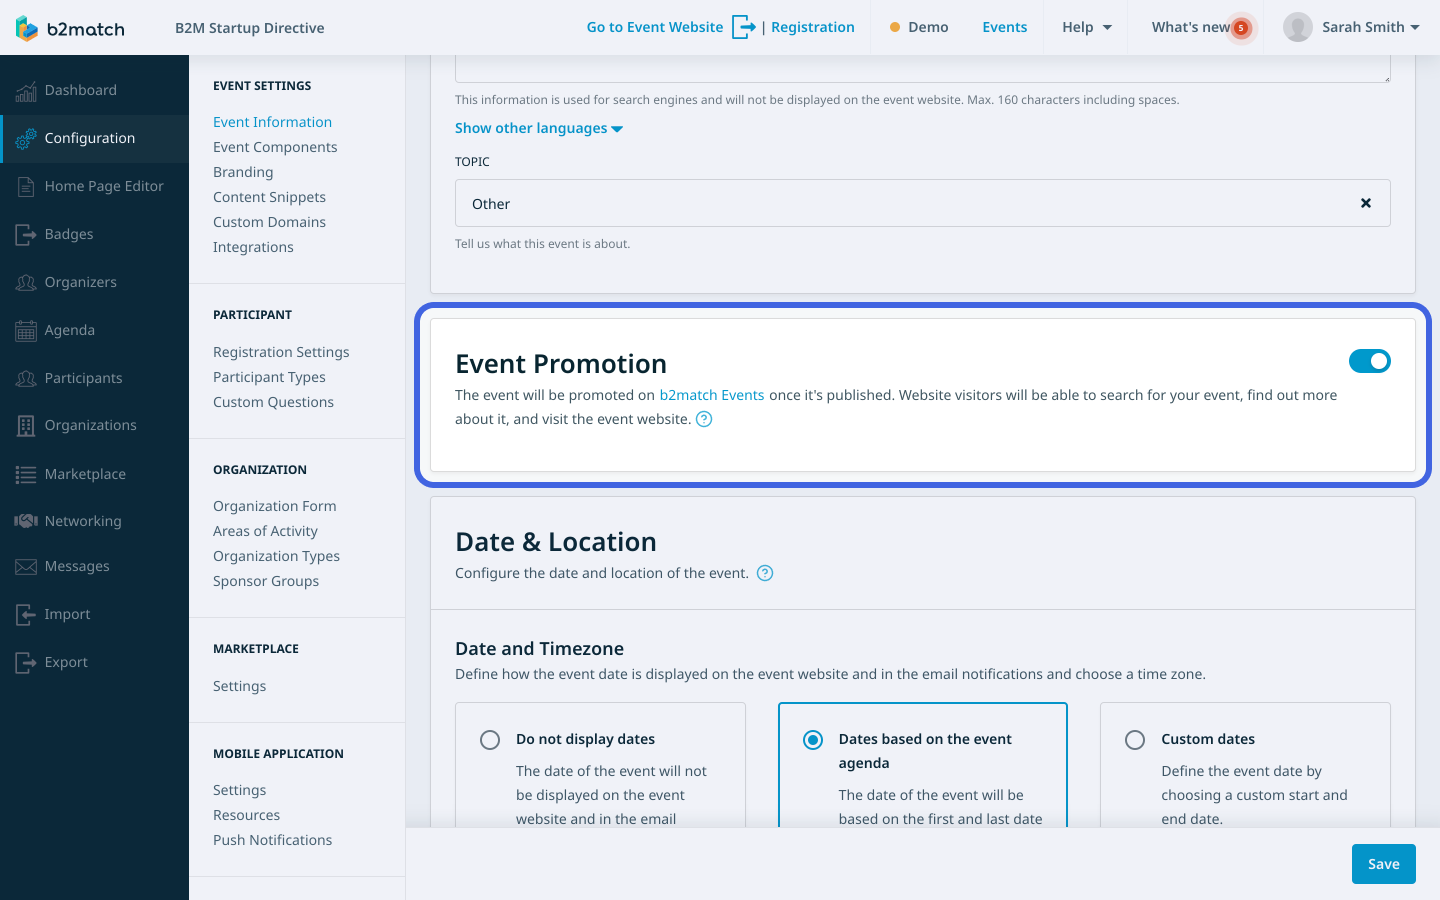
You have the option to promote your event on b2match events once your event is published. By promoting your event, website visitors will be able to search for it, gather more information, visit the event site, and potentially register if they are interested.
To promote your event, simply click the toggle switch in the Event promotion section.
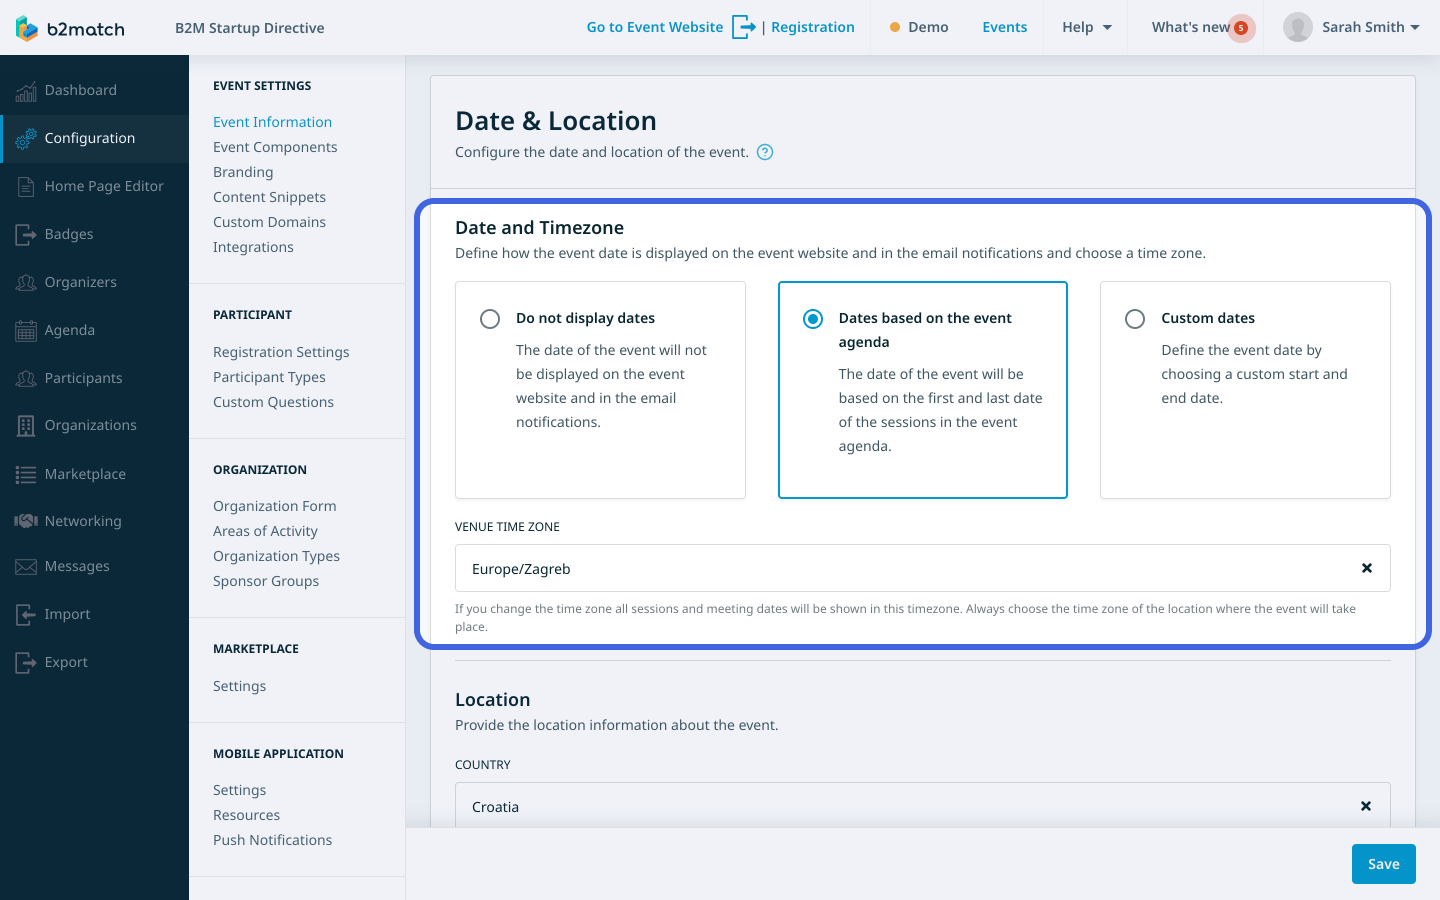
Date & Location
The Date & Location section is divided into two smaller subsections: Date & Timezone and Location.
In the Date & Timezone subsection, you have three options for displaying the event date on the event website and in email notifications:
- Do not display dates: The event date will not be shown on the event website and in email notifications.
- Dates based on the event agenda: The event date will be determined by the first and last dates of the sessions in the event agenda.
- Custom dates: You can define the event date by selecting a custom start and end date. Clicking on Custom dates reveals additional fields where you can specify the event's start and end date and time.
Next, from the Venue time zone drop-down menu, you can choose the event's time zone. Changing the time zone will update all session and meeting dates to be displayed in this selected timezone.
In the Location subsection, provide detailed information about the event's venue:
Choose the country from the Country drop-down menu.
Type in the city name, postal code, and street.
In the Location details field, you can add any additional information about the event's venue.

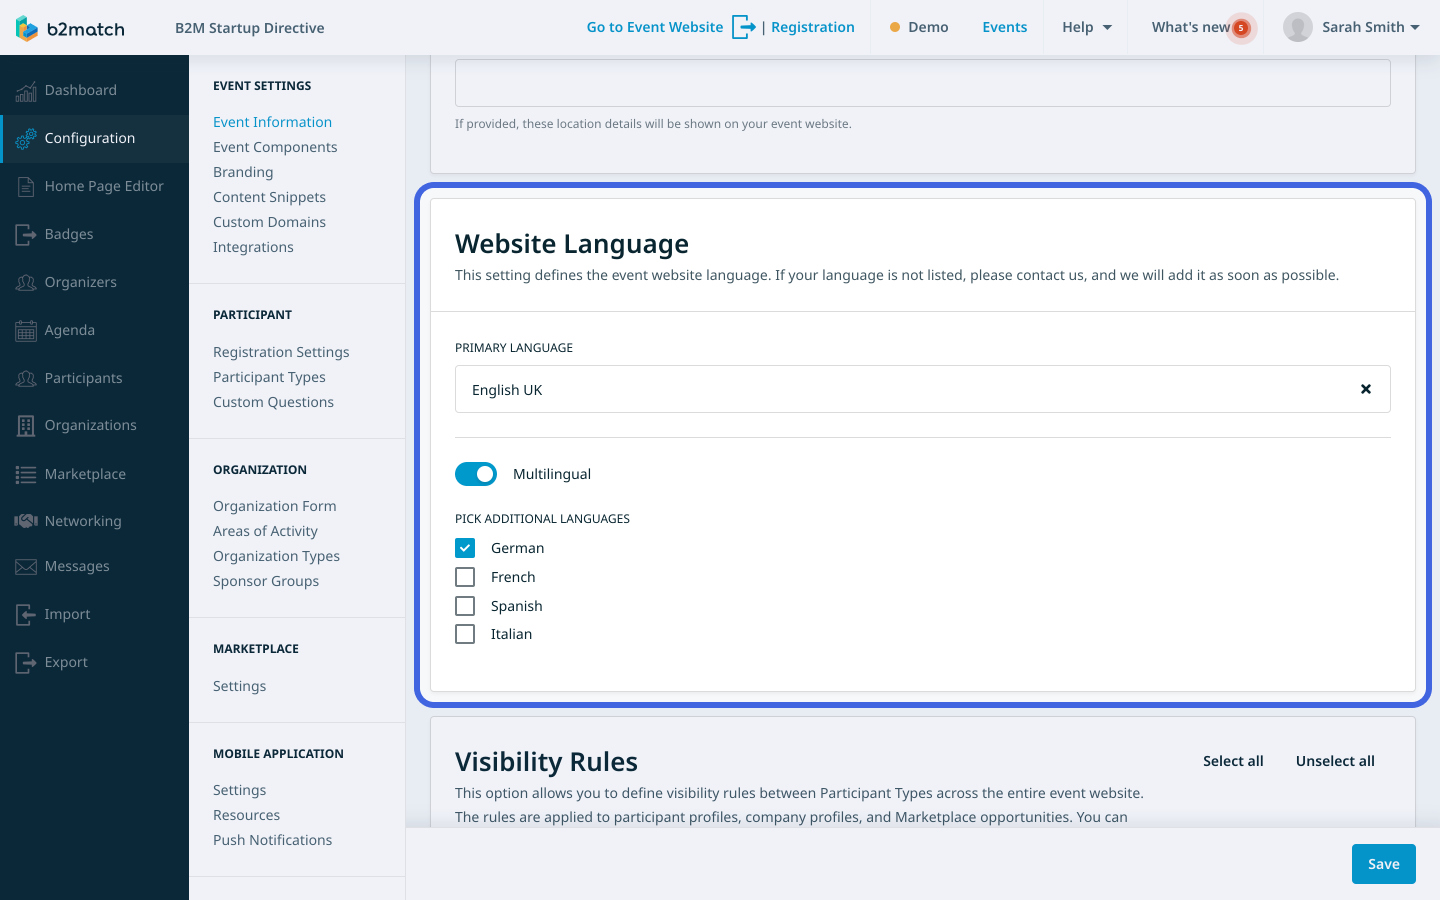
Website Language
In the Website language section, you can choose the language for the event's website. To learn more about this topic, refer to our article on setting up event languages.
Visibility Rules
In the Visibility rules section, you have the option to configure visibility rules related to participant types. Make sure you understand participant types and how to create them before setting up visibility rules.

Analytics & Reporting
In the Analytics & reporting section, you can choose to connect your event with Google Analytics. This allows you to access your event's reports on your Google Analytics account. For more in-depth information, please refer to our analytics & reporting article.

If you didn't find an answer to your questions, please get in touch with the Support Team here.