Assigning Participants to Meeting PointsUpdated a year ago
Meeting points serve as designated location for meetings that can be assigned to individual participants, streamlining the matchmaking process, and minimizing the need for attendees to relocate between each session. This feature offers participants a seamless experience, allowing them to focus on networking and connecting with ease.
Learn more about creating meeting points in our article managing meeting points.
How can I assign participants to a meeting point?
First, access Networking from the left sidebar of the Organizer’s Tool and click on Configuration.
Next, navigate to the Meeting Locations tab.
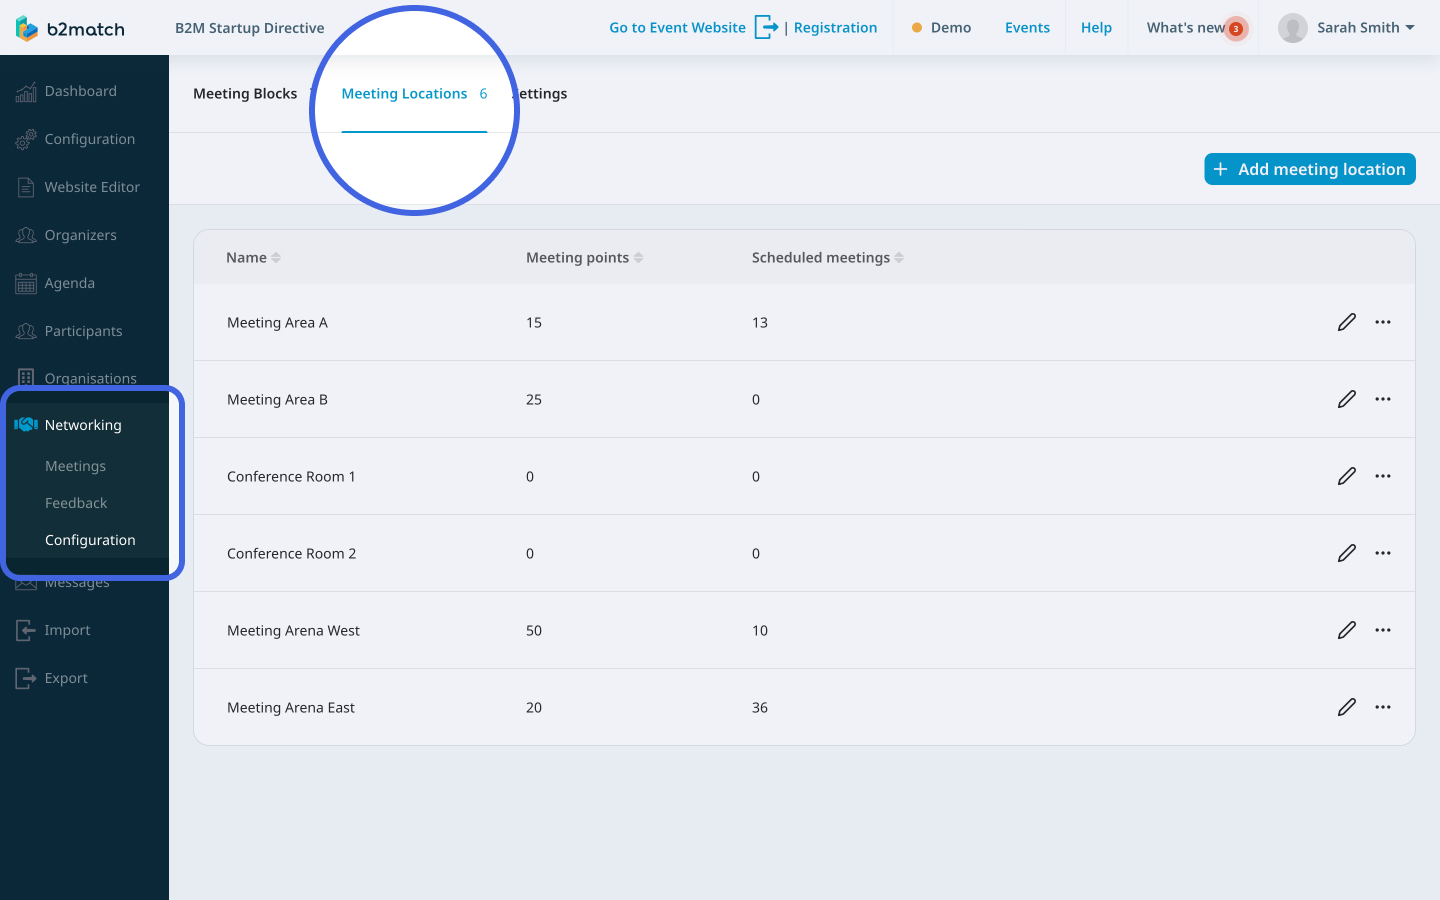
Here, click on the meeting location whose meeting point you want to assign to a participant to open the Meeting location info sidebar.
Here, access the Meeting points tab.
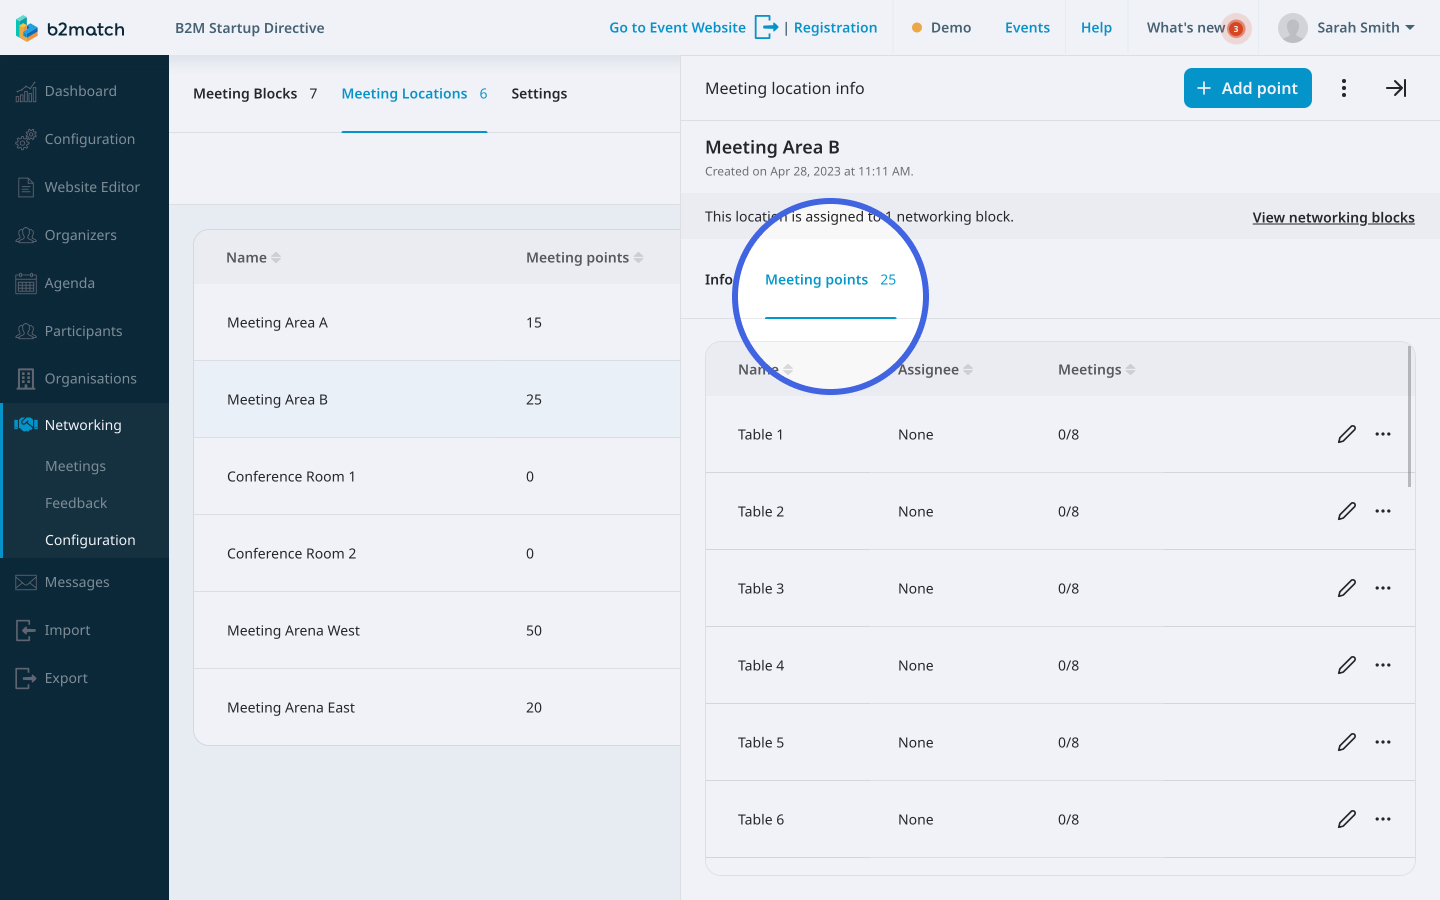
Find the meeting point you want to assign to a participant and click on the pencil icon next to it.

This will open the Edit meeting point modal.

To assign a meeting point to a participant, you can either type their name into the Participant field or select their name from the drop-down menu that appears when you click on the field.
After that, click on Save.
What happens when I assign a participant to a meeting point?
By assigning a participant to a meeting point, you are providing them with a dedicated spot in which they can conduct their meetings. This will eliminate the need for participants to constantly relocate between meetings, ensuring a streamlined and hassle-free experience. Once assigned to a meeting point, all meetings that a participant has scheduled will take place at this location, creating a seamless and efficient matchmaking experience for all involved.
If you didn't find an answer to your questions, please get in touch with the Support Team here.