Editing List ColumnsUpdated 9 months ago
Participant and organization lists present information about participants and organizations. This data is organized into separate columns which are predefined automatically by the system. However, users have a variety of additional options to choose from.
Default columns
Default columns shown in the participant list are:
- Participant ID
- Participant
- Organization Name
- Country
- Sessions
- Meetings
- Activated
- Visible
- Marketplace

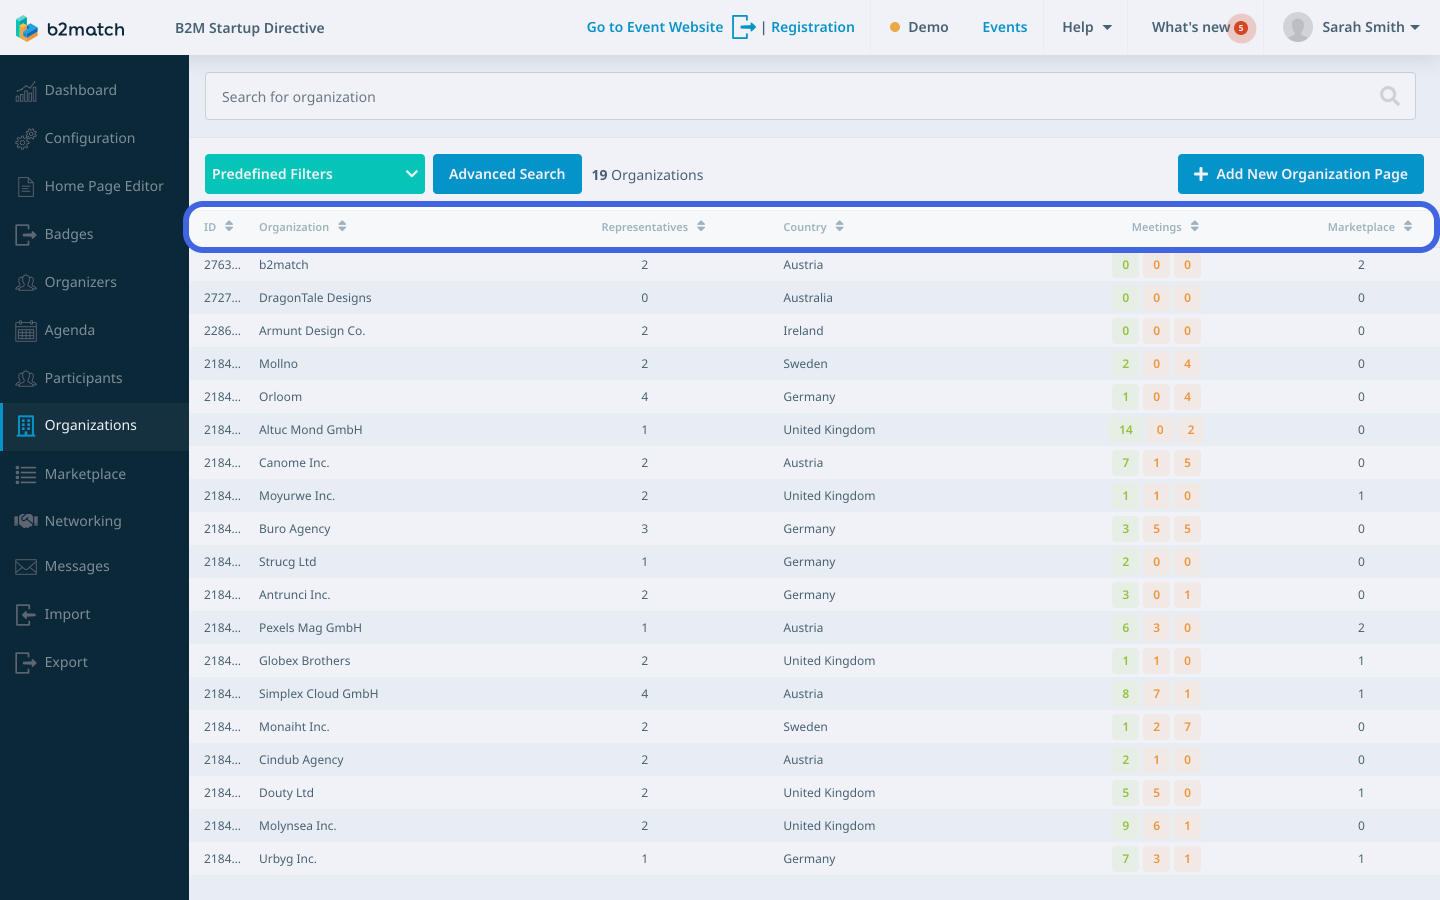
Default columns shown in the organization list are:
- Organization
- ID Organization
- Representatives
- Country
- Meetings
- Marketplace
How can I edit the list columns?
First, open either the Participant or Organizations list from the left sidebar of the Organizer's tool.
Click on the Advanced search button to create a filter.

To edit the list columns, scroll down to the Displayed columns section.
Here, you'll find a table with Selected Columns and Other columns.
In Selected Columns, you can view the columns currently displayed on the list.
In Other Columns, you can see all available columns that can be chosen to display information.
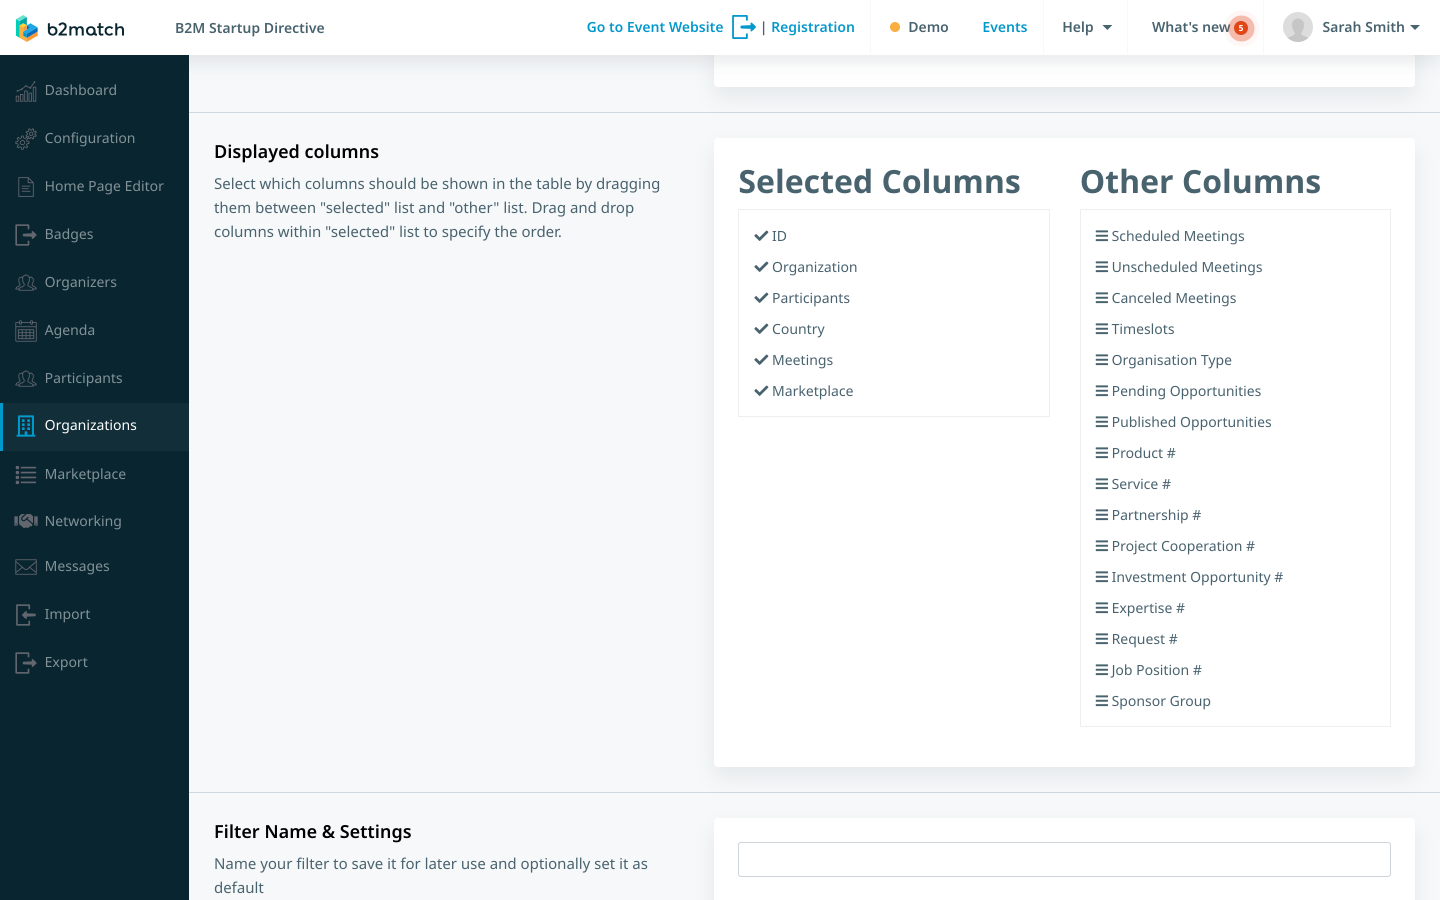
To add a column, click on the column name in the Other columns list and drag and drop it within the Selected columns list. Use drag and drop to rearrange columns in a specific order.

To remove a column, click on a column name in the Selected columns list and drag and drop it back to the Other columns list.
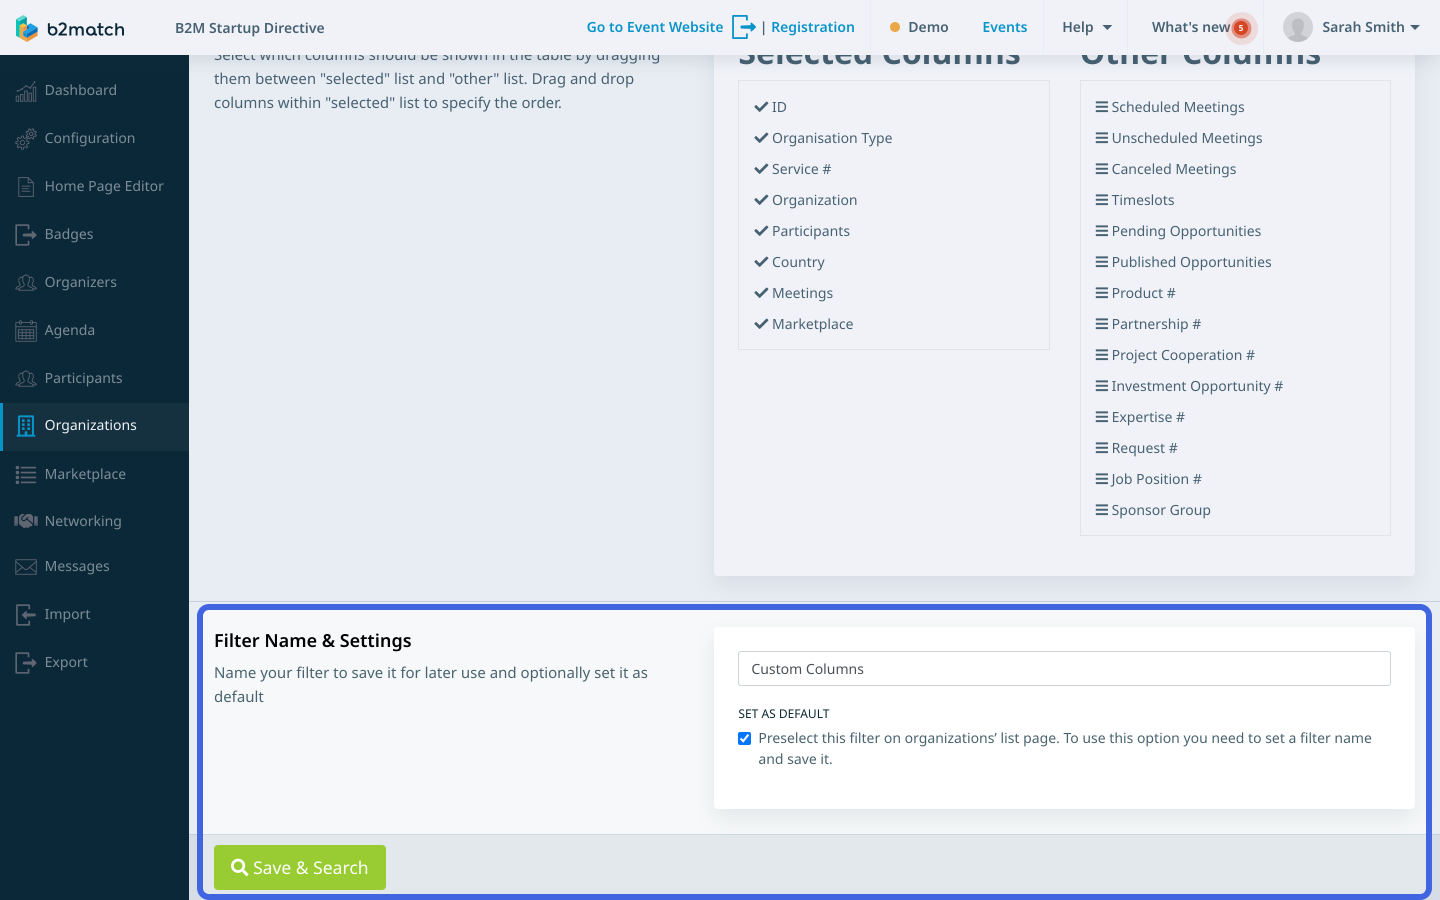
Once you've rearranged the columns to your liking, click on the Search button to apply the changes.

If you want to save this customized view, give the filter a name in the Filter Name & Settings section, and then click on the Save & Search button.
If you didn't find an answer to your questions, please get in touch with the Support Team here.