Exploring & Configuring ComponentsUpdated 8 months ago
Once you've added event components to the navigation bar on your event website, it's important to properly configure them.
How can I configure event components?
There is a variety of event components you can add to the navigation bar.
Website
The Website component redirects users to the event's home page.
Enter the desired name for the component in the Name field.
Then, define the component's visibility settings. Click on the Guest mode toggle switch to allow unregistered website visitors to view the page's contents.
If you don't want unregistered website visitors to view this page, select specific participant types that can see the component by ticking the boxes.

Participants
The Participants component redirects users to the participant list.
Enter the name you want to be displayed on the navigation bar for this component.
In the Data Customization section, choose the participant types you wish to display on the page. Only participants with these selected types will be shown.
Then, set the visibility settings. Enable the Guest Mode toggle switch to allow every website visitor to view this component.
Alternatively, select specific participant types whose participants should see the component.

Companies
The Companies component redirects users to the organizations list.
Enter the desired name for the component in the Name field.
In the Data Customization section, select the participant types and/or organization types you wish to display on the page. Only participants and organizations with these selected types will be shown.
Then, configure the visibility settings for this component.

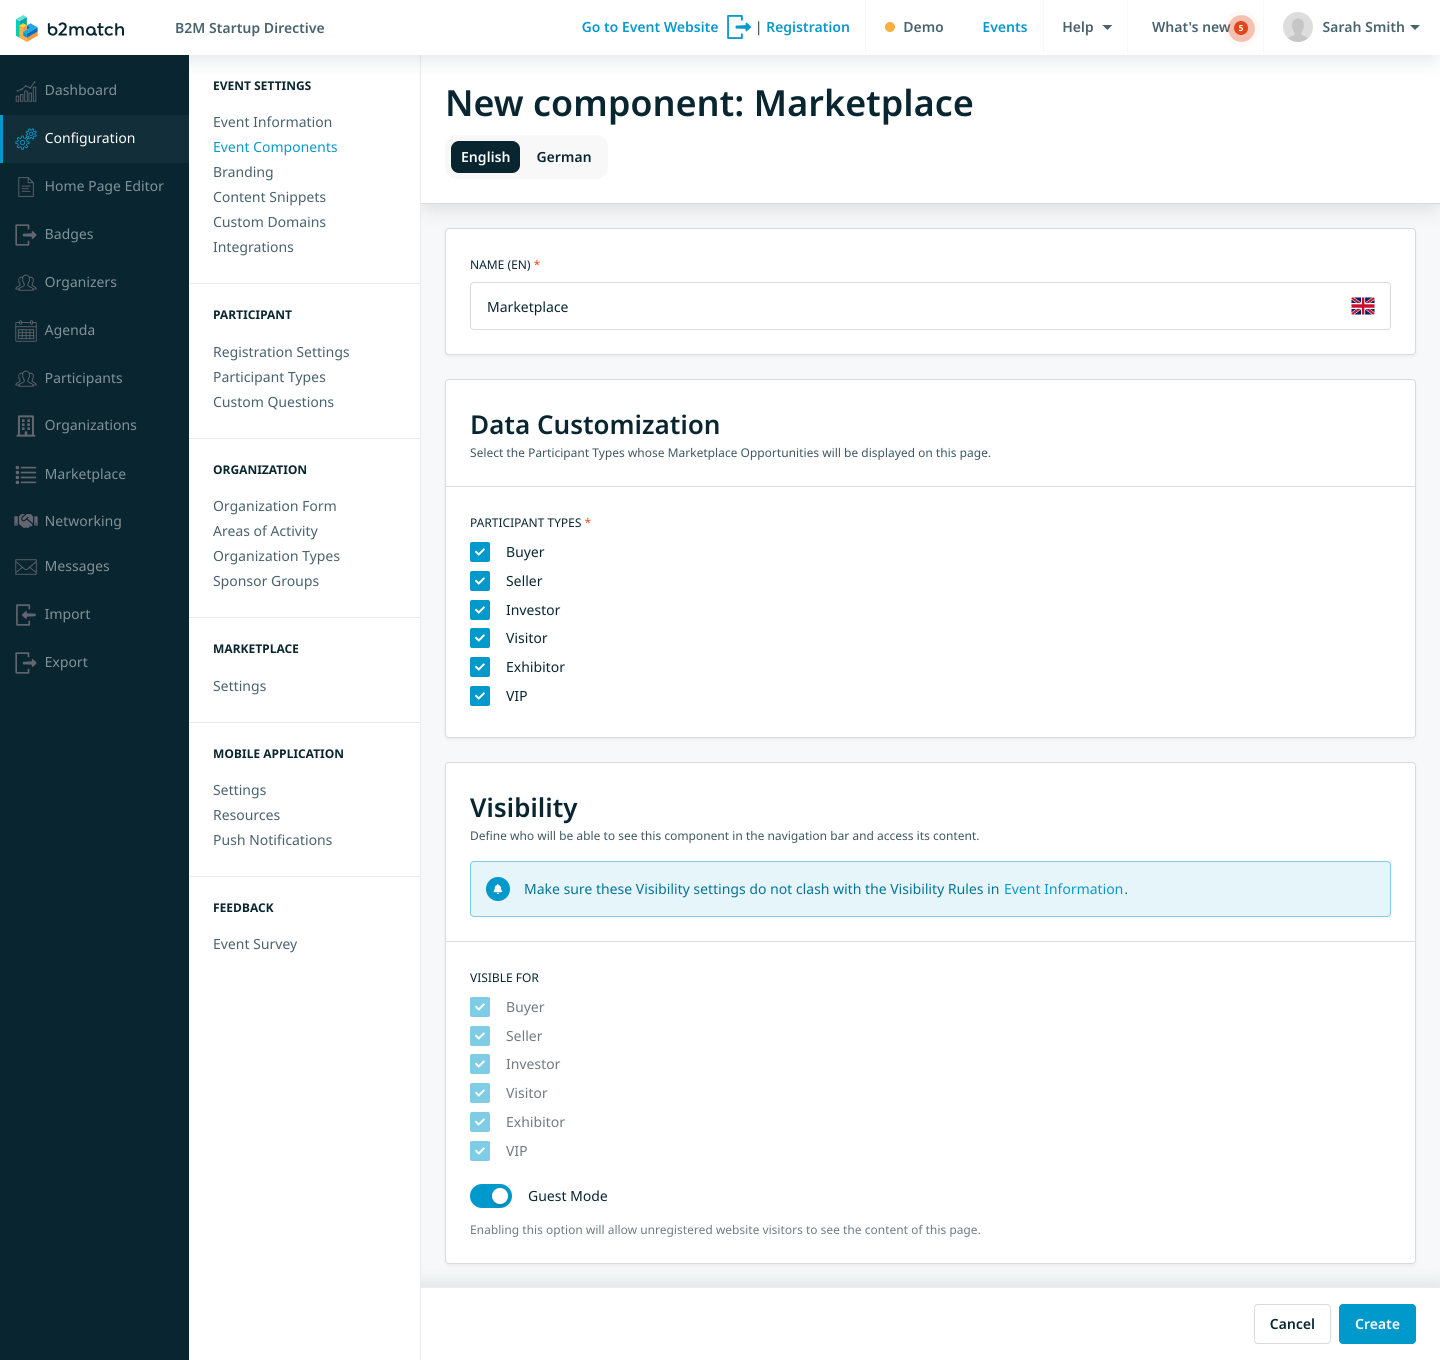
Marketplace
The Marketplace component redirects users to the marketplace page.
In the Name field, type the name of the component.
In the Data Customization section, select the participant types whose marketplace opportunities you wish to display on this page.
In the Visibility section, define who can see this component on the navigation bar.
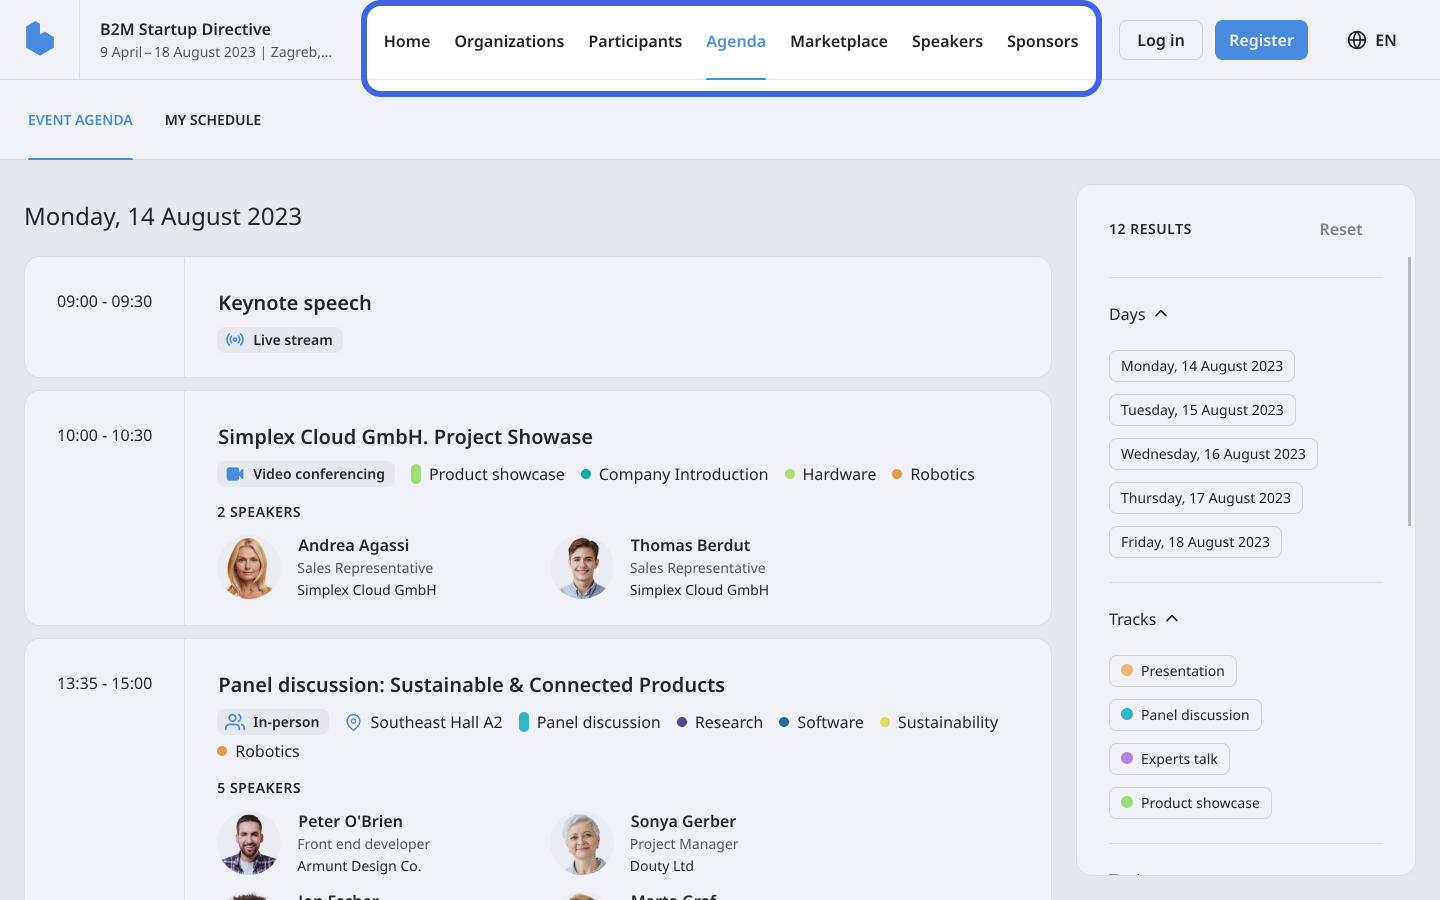
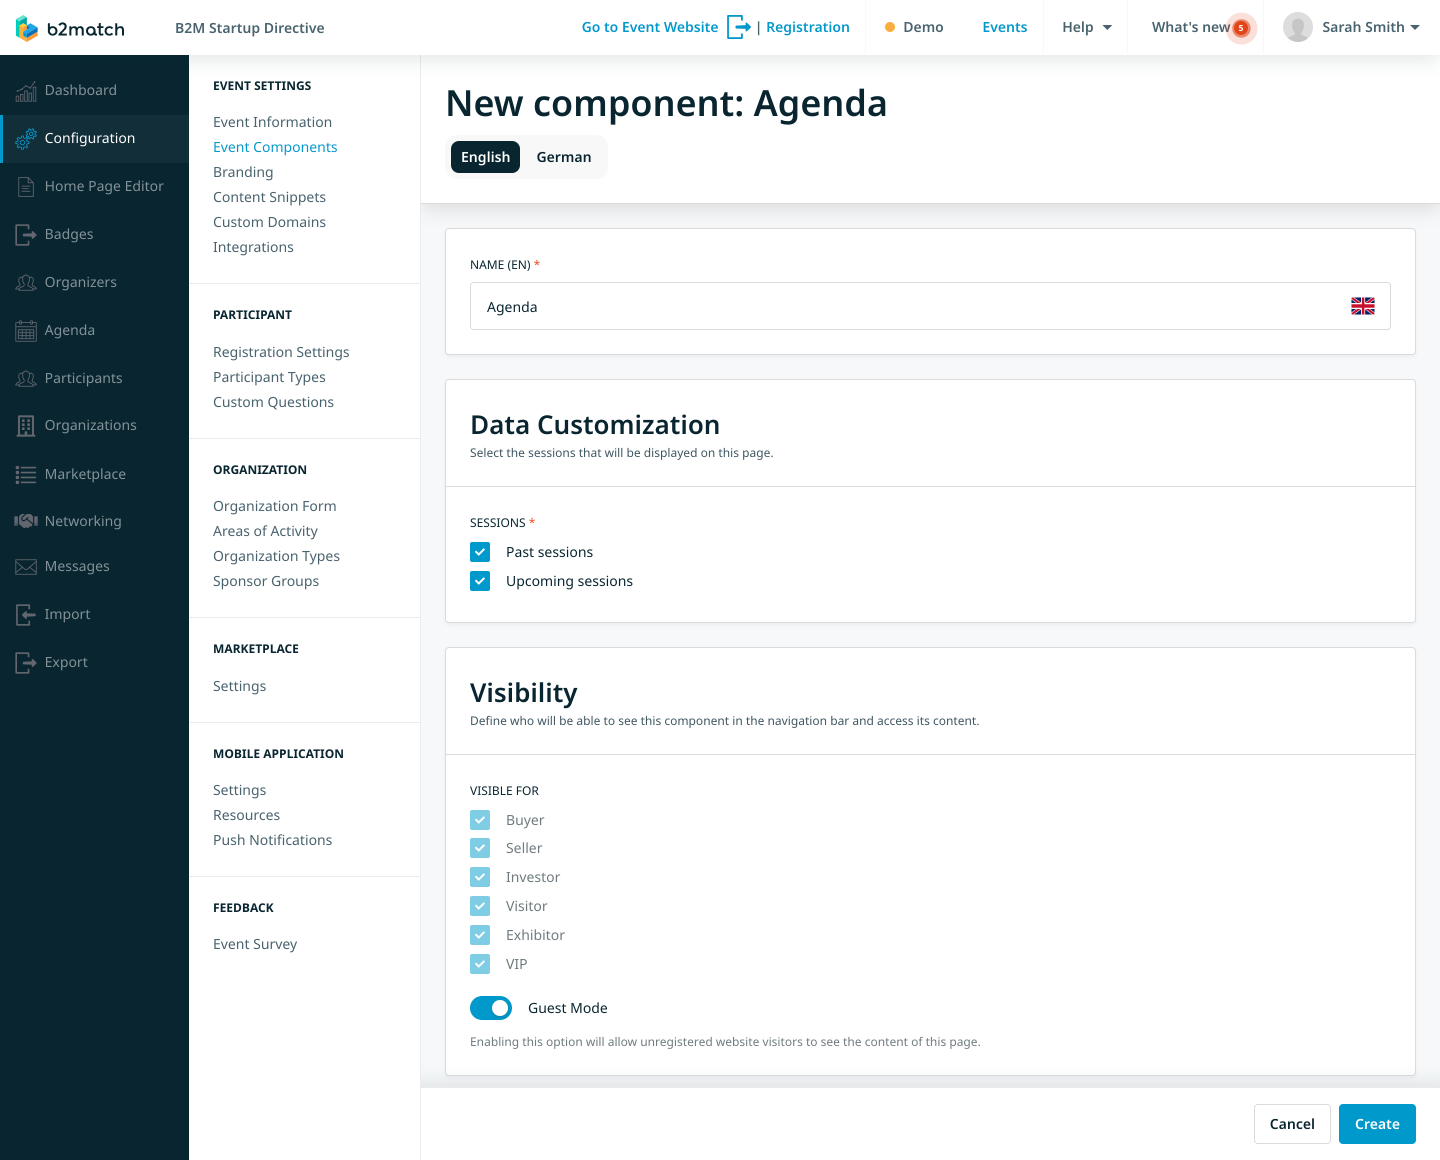
Agenda
The Agenda component redirects users to the Agenda page.
Enter the desired name for the component in the Name field.
Next, in the Data Customization section, select whether to display past sessions or upcoming sessions on this page.
After that, define the component's visibility settings in the Visibility section.
Speakers
The Speakers component redirects users to the Speakers page.
Enter the name you want to be displayed on the navigation bar in the Name field.
After that, configure the component's visibility in the Visibility section.

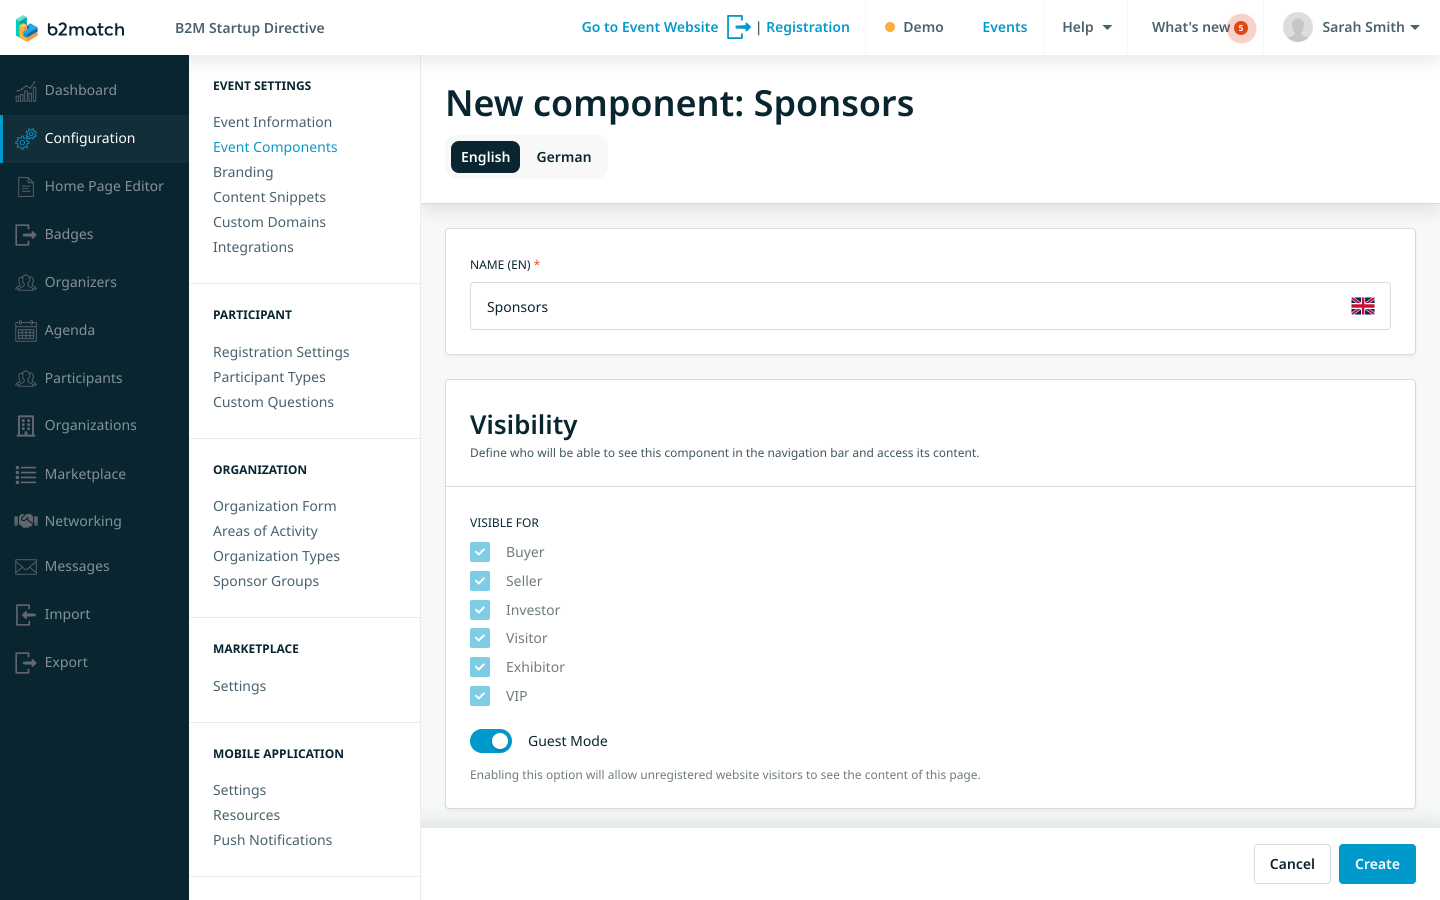
Sponsors
The Sponsors component redirects users to the Sponsors page.
Enter the name you want to be displayed on the navigation bar in the Name field.
Then, configure the component's visibility in the Visibility section.
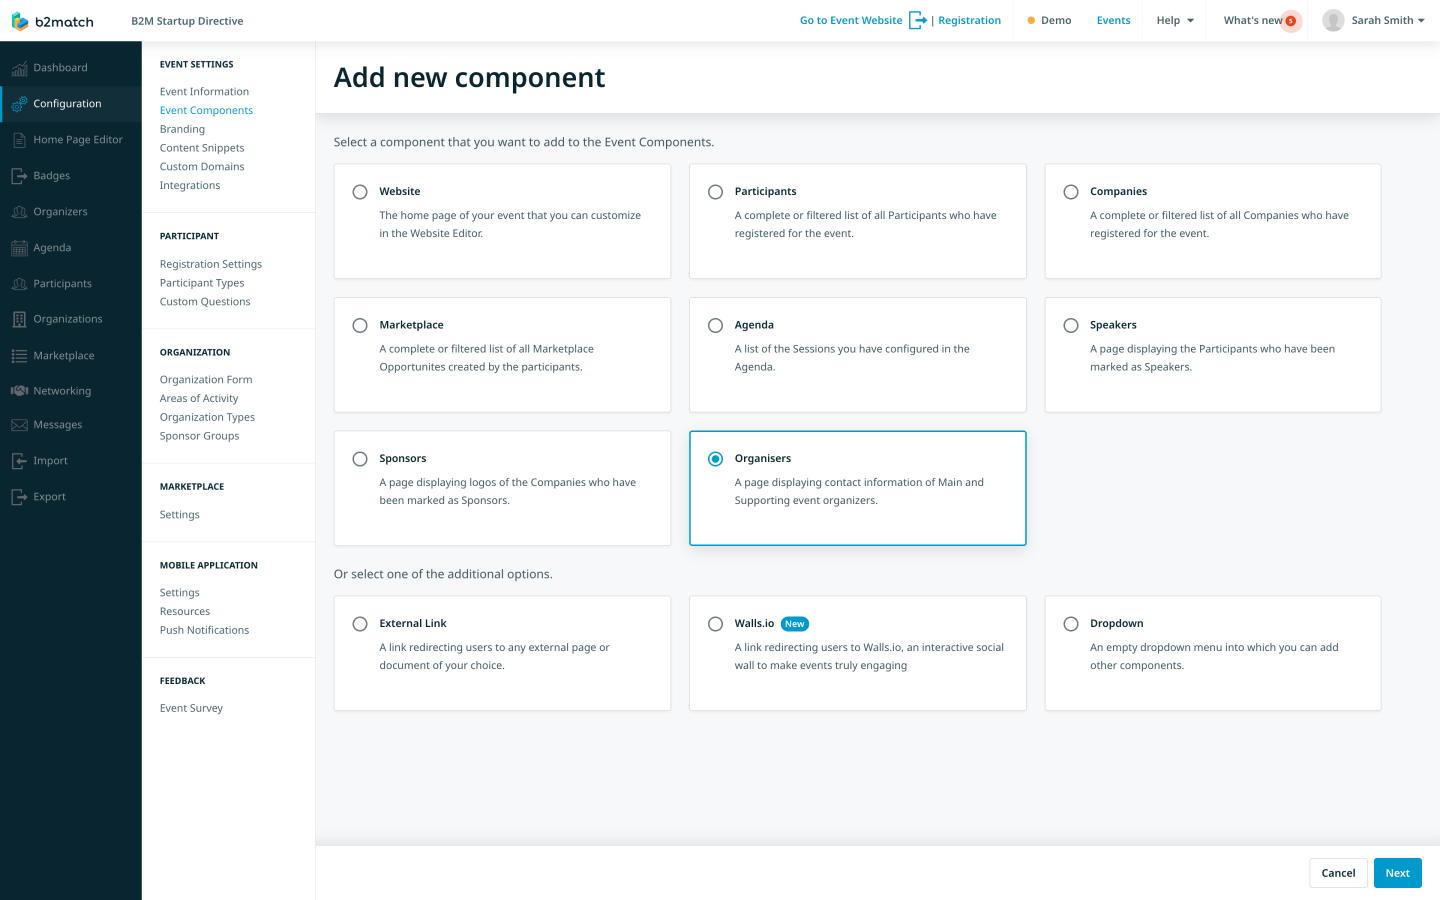
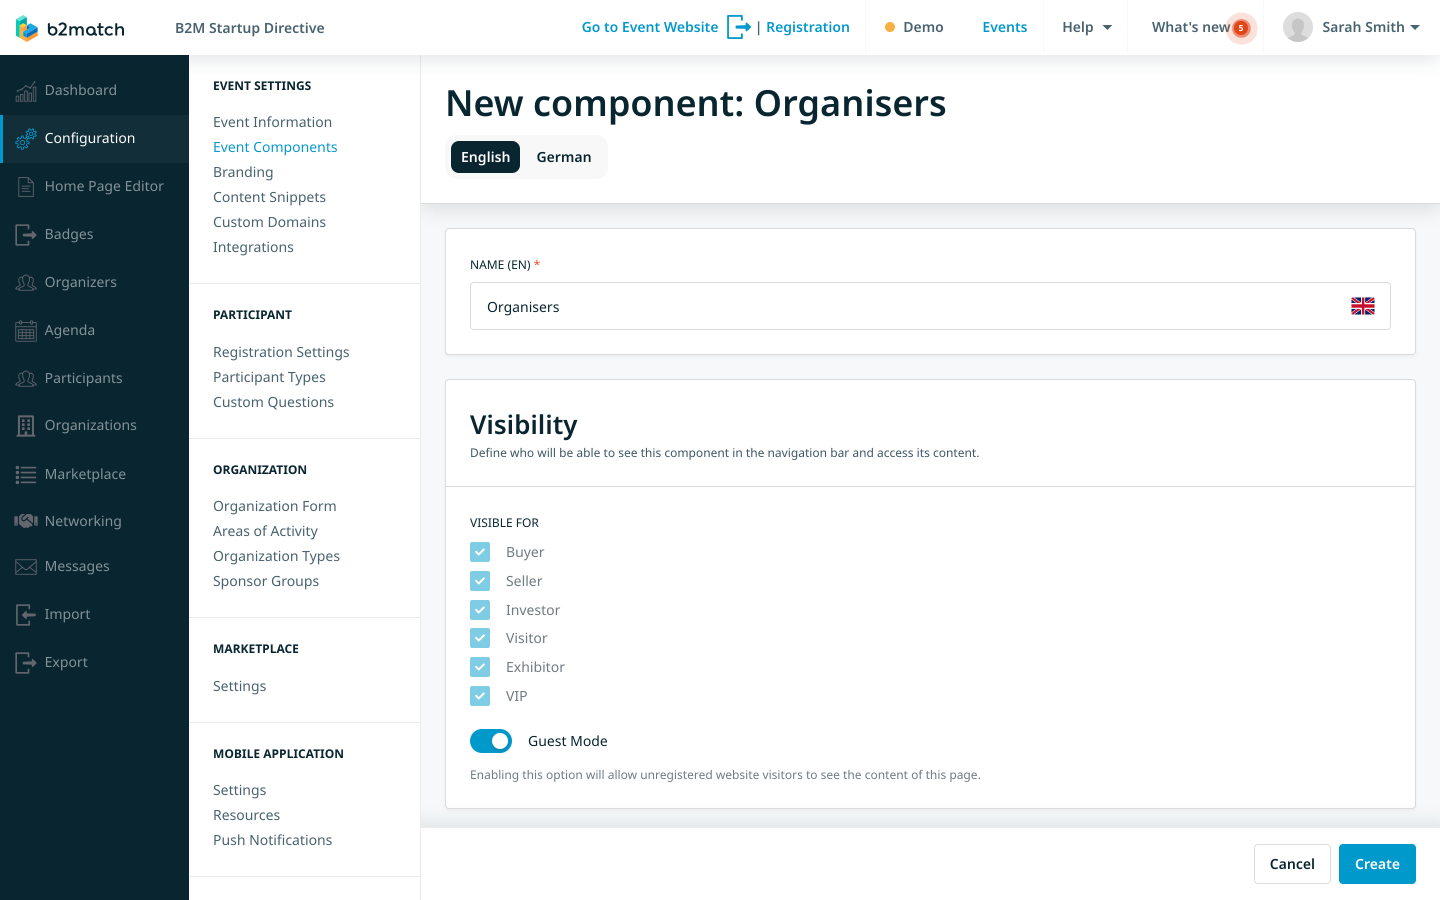
Organizers
The Organizers component redirects users to the organizers page, displaying the main and support organizers' contact information.
Configure this event component by entering the event component's name in the Name field and configuring the component's visibility in the Visibility section.
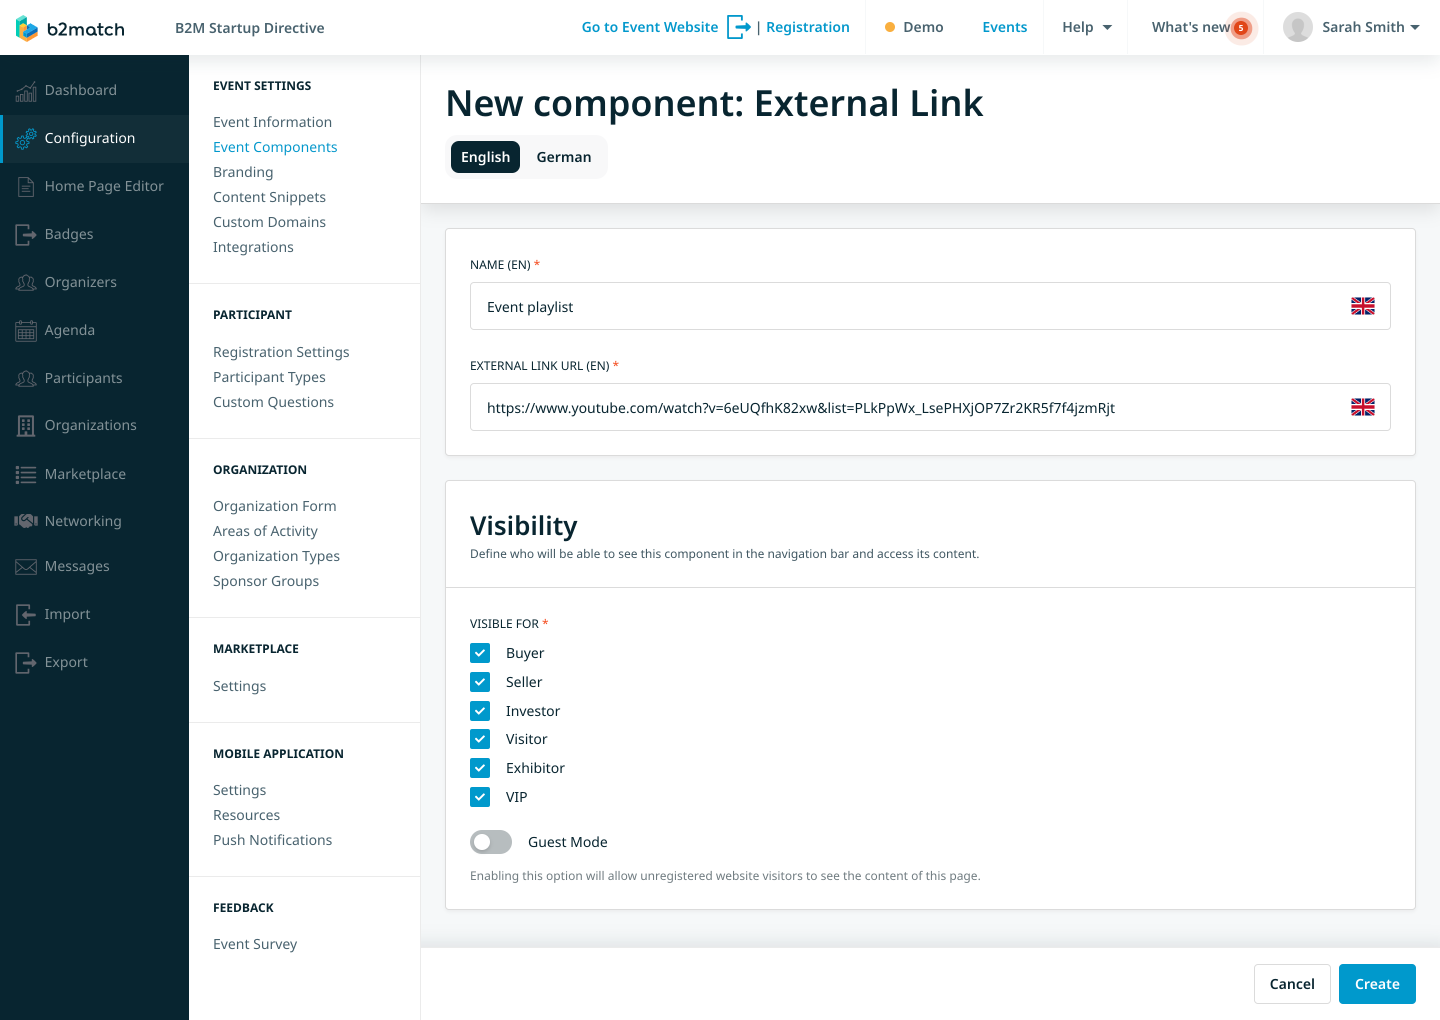
External Link
If you choose the External link component, first, enter the name of the component in the Name field.
Then, paste the external link to the desired page in the External link URL field.
After that, configure the visibility of the event component in the Visibility section.
You can connect the pages you've created in the home page editor as external components.
To do this, stat by opening the home page editor from the left sidebar of the Organizer's tool.
Then, locate the desired page you wish to include as an external component in the header.
Click on the 3 dots located next to the page's name, and from the drop-down menu, select Copy page link.

After that, navigate to the Event components page.
Here, choose External link, and then paste the copied link into the designated External link URL field.
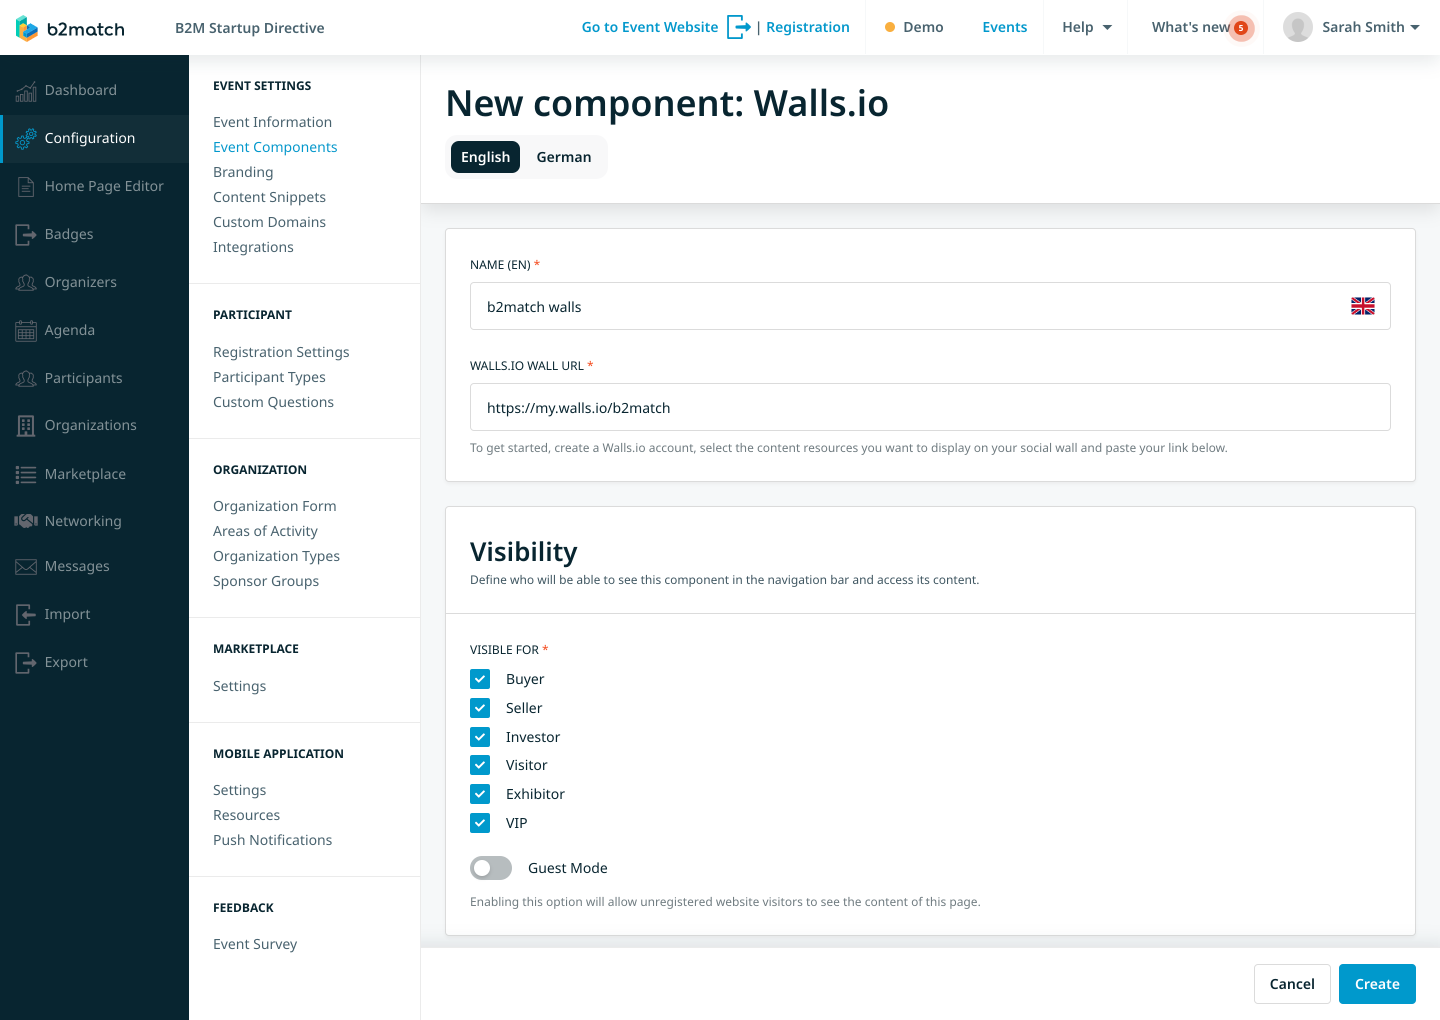
Walls.io
This component redirects users to Walls.io, an interactive social wall for participants to share their impressions of the event.
To implement Walls.io into your event, first create a Walls.io account. Then, select the content resources you want to display on the social wall and paste the Walls.io wall link into the Walls.io wall URL field.
Drop-down Menu
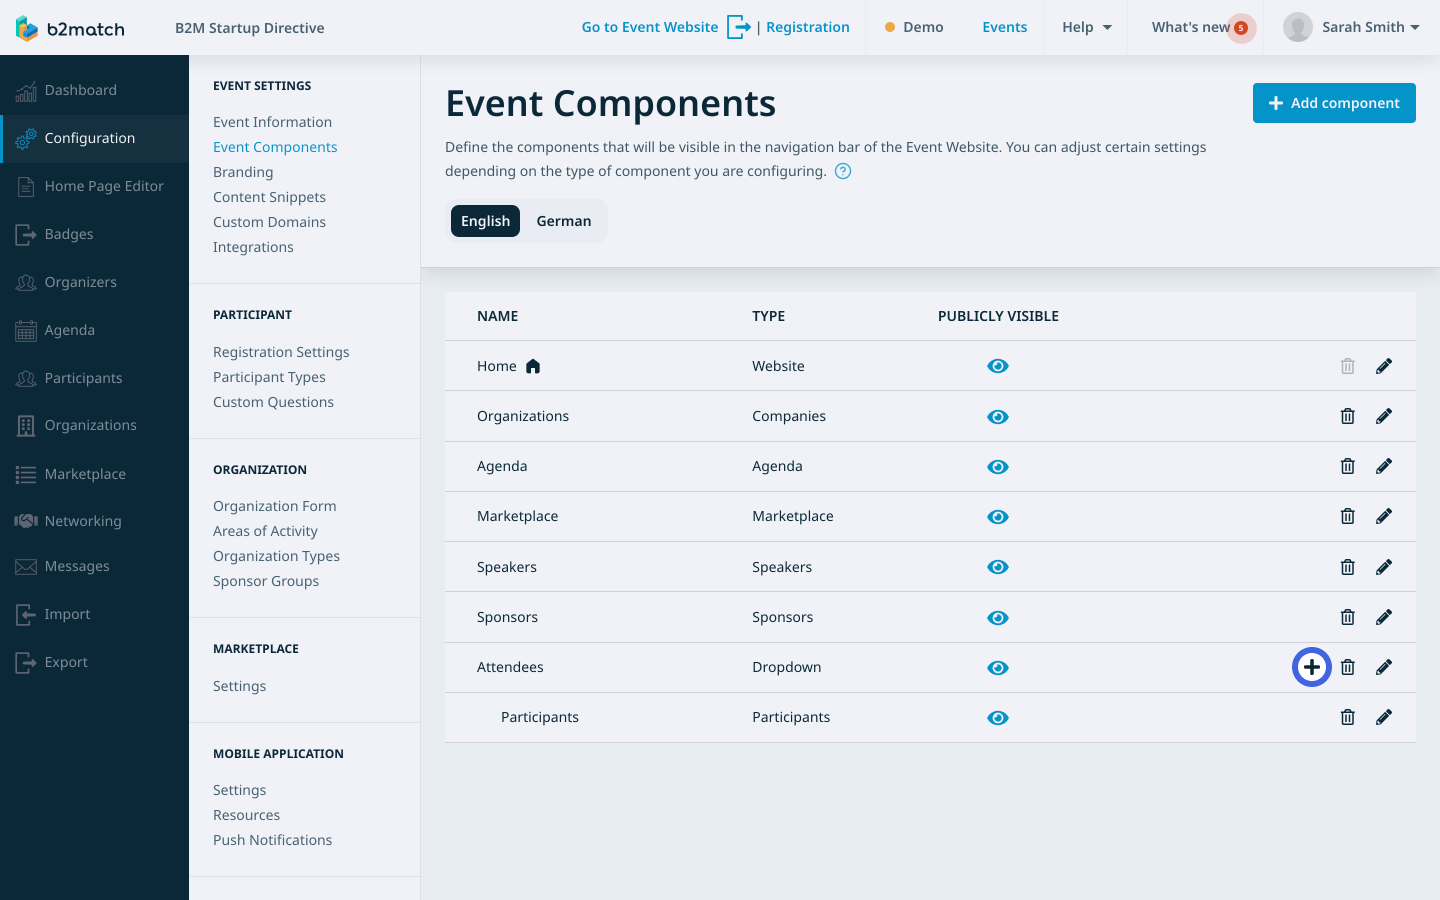
The Drop-down menu component component creates an empty drop-down menu where you can add other event components.
First, enter the drop-down menu's name in the Name field, and click on the Create button to create it.

After creating the drop-down menu, it will appear in the event components list.
To add components to the drop-down, click on the plus button next to it. This will prompt you to create a new component, which will then be visible and available to choose from the drop-down menu.
How can I edit event components?
After creating event components, you can edit them at any time.
To edit a component, locate it in the Event components page and click on the pencil icon next to it.

Then, you can modify the component's name, data customization, and visibility settings according to your needs.
If you ever need to remove a component from the navigation bar, the process can be completed in just a few clicks. For detailed instructions on how to delete event components, please refer to our article on deleting event components.
How can I reorder event components?
On the Event components page, you'll find the components displayed in the order they appear on the navigation bar on your event's website.
If you wish to change the order of event components, first, click on the component you want to reorder and drag it to the desired position on the list.
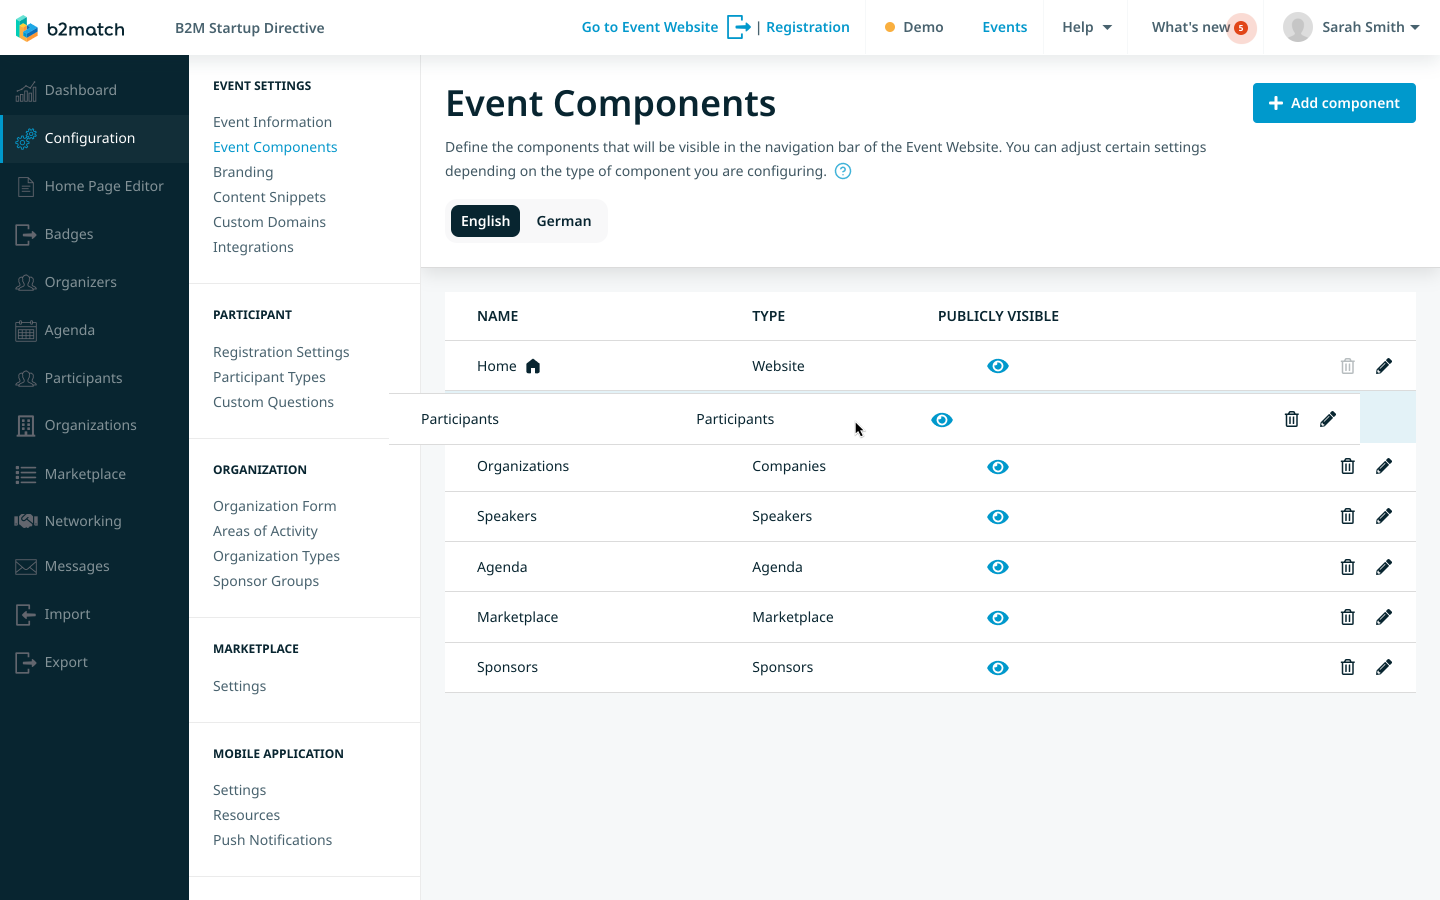
The new order will automatically reflect on the navigation bar on the event website.
If you didn't find an answer to your questions, please get in touch with the Support Team here.