Creating & Saving FiltersUpdated 9 months ago
Navigating through a long participant and organization list can be overwhelming, particularly when dealing with thousands of attendees at an event.
No need to panic! Optimize your time by using filters, which serve as invaluable tools to precisely search for participants or organizations that fulfill specific criteria relevant to you.
How can I create filters?
You can create filters for the participant list as well as the organization list.
Filters on the participant list
For creating a filter on the participant list, first click on Participants on the left sidebar of the Organizer’s Tool to open the participant list.
To create a new filter, click on the Advanced search button.
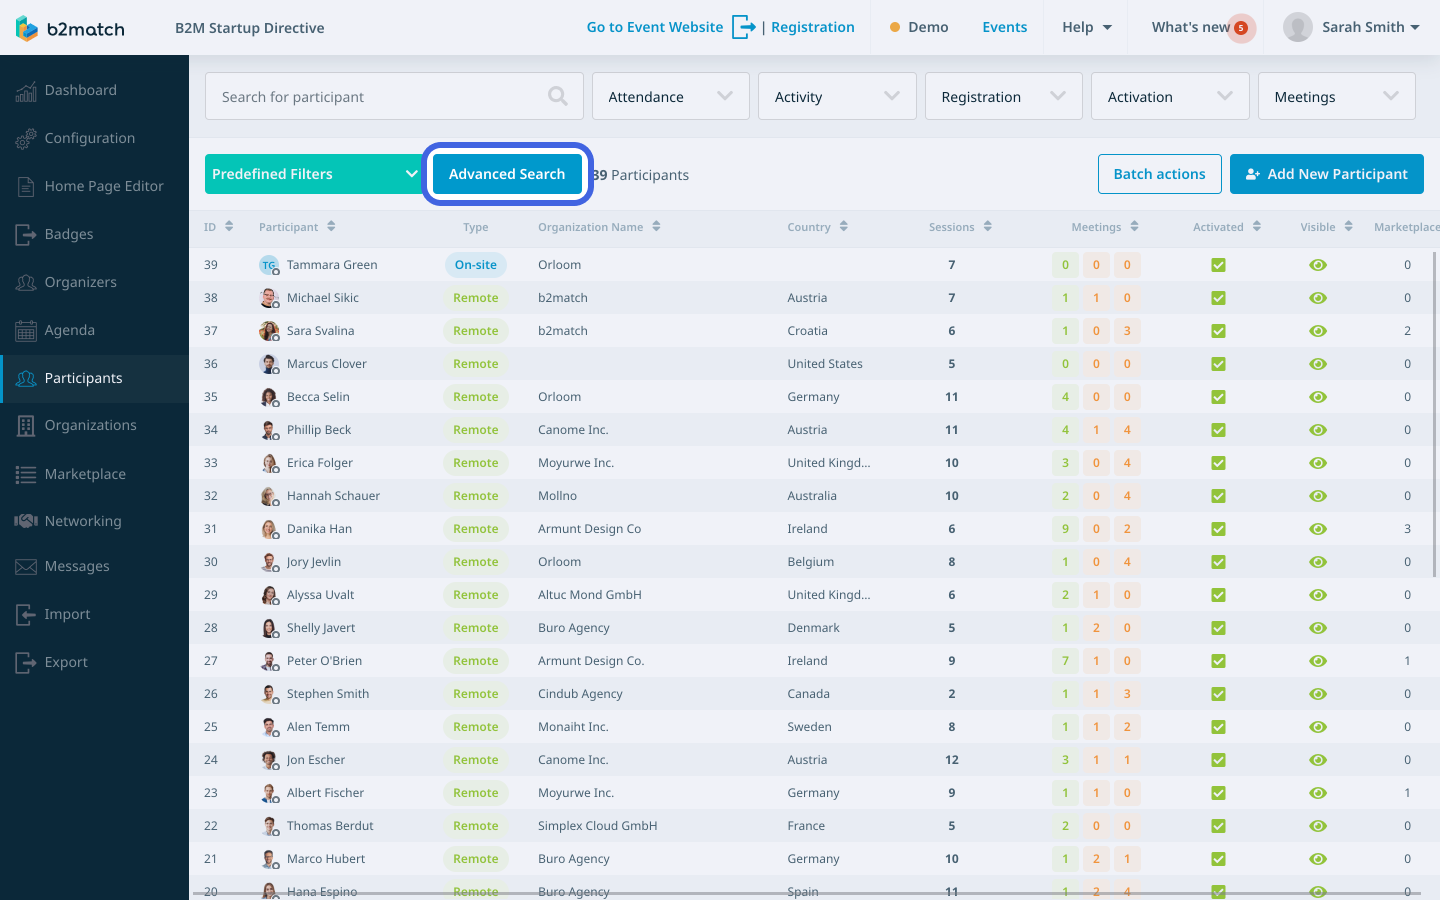
Advanced search grants you access to a multitude of filtering options, conveniently organized into various sections:
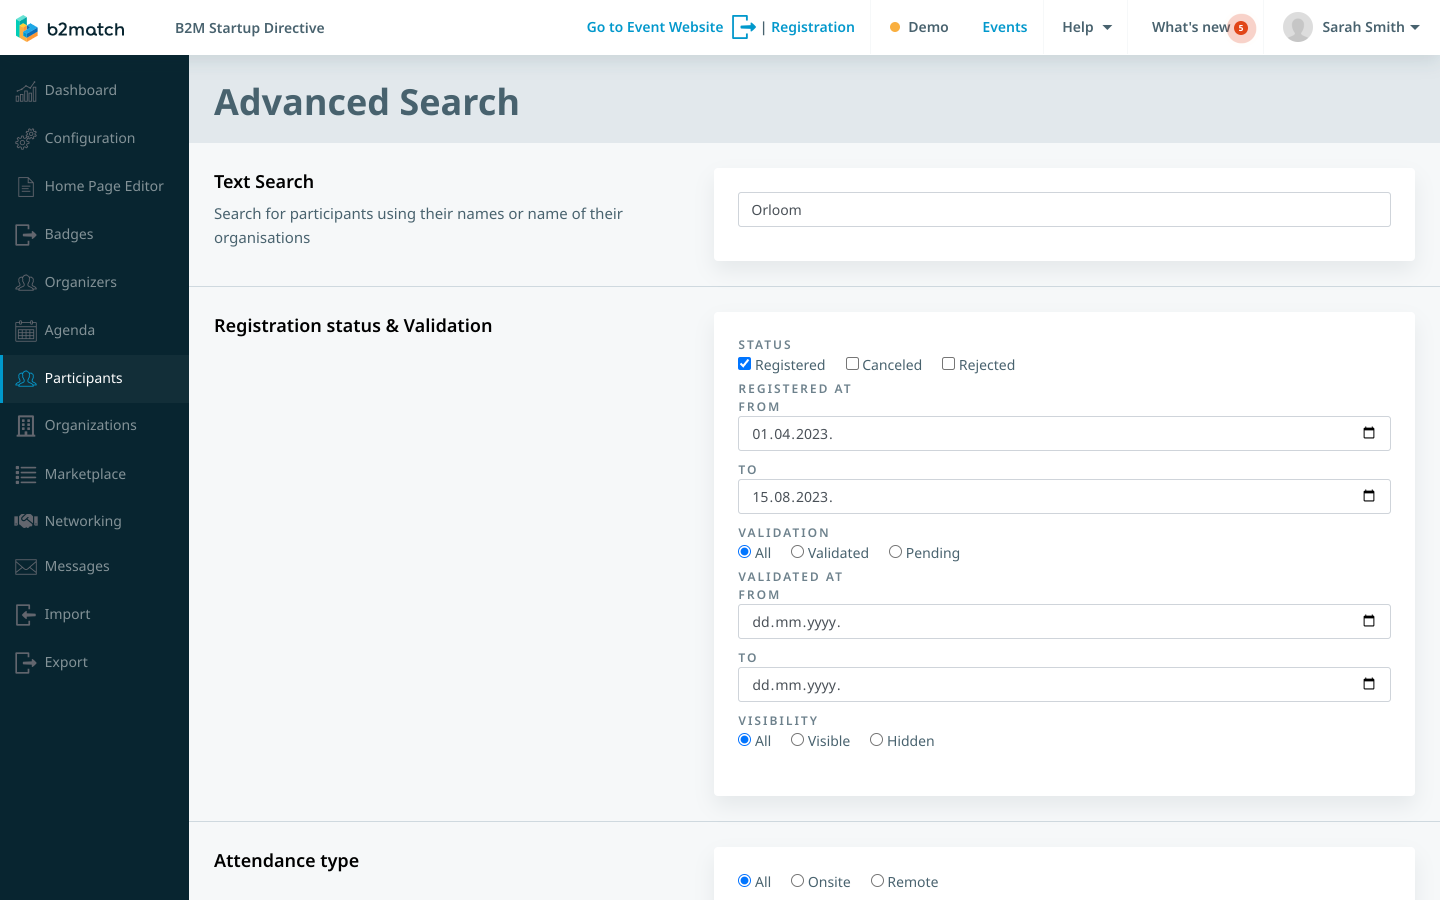
Text search
In the Text search section, you can effortlessly search for participants by searching their names or the names of their organizations. Simply enter the desired name in the provided text field.
Registration status & validation
Within the Registration status & validation section, you can choose between various subcategories for filtering participants. Search by registration status (registered, canceled, rejected), registration timeframe (registered at/from-to), validation status (all, validated, pending), validation timeframe (validated at/from-to), and visibility (all, visible, hidden).
Attendance type
Utilize the Attendance type section to filter participants based on their attendance type. You can choose between all, onsite and remote.
Participants active in the last
Refine participant selection in the Participants active in the last section, where you can filter by activity on the platform, including timeframes like 24 hours, 1 week, 2 weeks, 3 weeks, 1 month, 3 months and 6 months.
Participants inactive for at least
Effectively identify inactive participants with the Participants inactive for at least section, offering options such as all, 24 hours, 1 week, 2 weeks, 3 weeks, 1 month, 3 months and 6 months to determine their period of inactivity.
Support offices
In the Support offices section, customize participant filtering based on their associated support office. Choose from designated support offices for your event or select the without any support office option.
Has a reserved meeting point
The Has a reserved meeting point section enables you to filter participants based on whether they have a reserved meeting point or not, with options including yes, no, or all.

Is a speaker
Within the Is a speaker section, tailor your participant filter based on their speaker status. Choose from three options: all, yes, or no.
Is an organization page admin
In the Is an organization page admin section, conveniently filter participants according to their role as an organization page admin. Select from options such as all, yes, or no.
Meetings
The Meetings section allows you to filter participants based on their participation in meetings. Choose between all, participating in meetings, or not participating in meetings.
Meetings status
In the Meetings status section, you can filter participants based on their meeting status. Options include has scheduled meetings, has not scheduled meetings, has accepted meetings, has pending own requests, has pending guest requests, has pending requests, has not own requests, has not any meetings.
Has agenda
Effortlessly filter participants in the Has agenda section based on whether they have an agenda. Choose from options such as all, yes, or no.

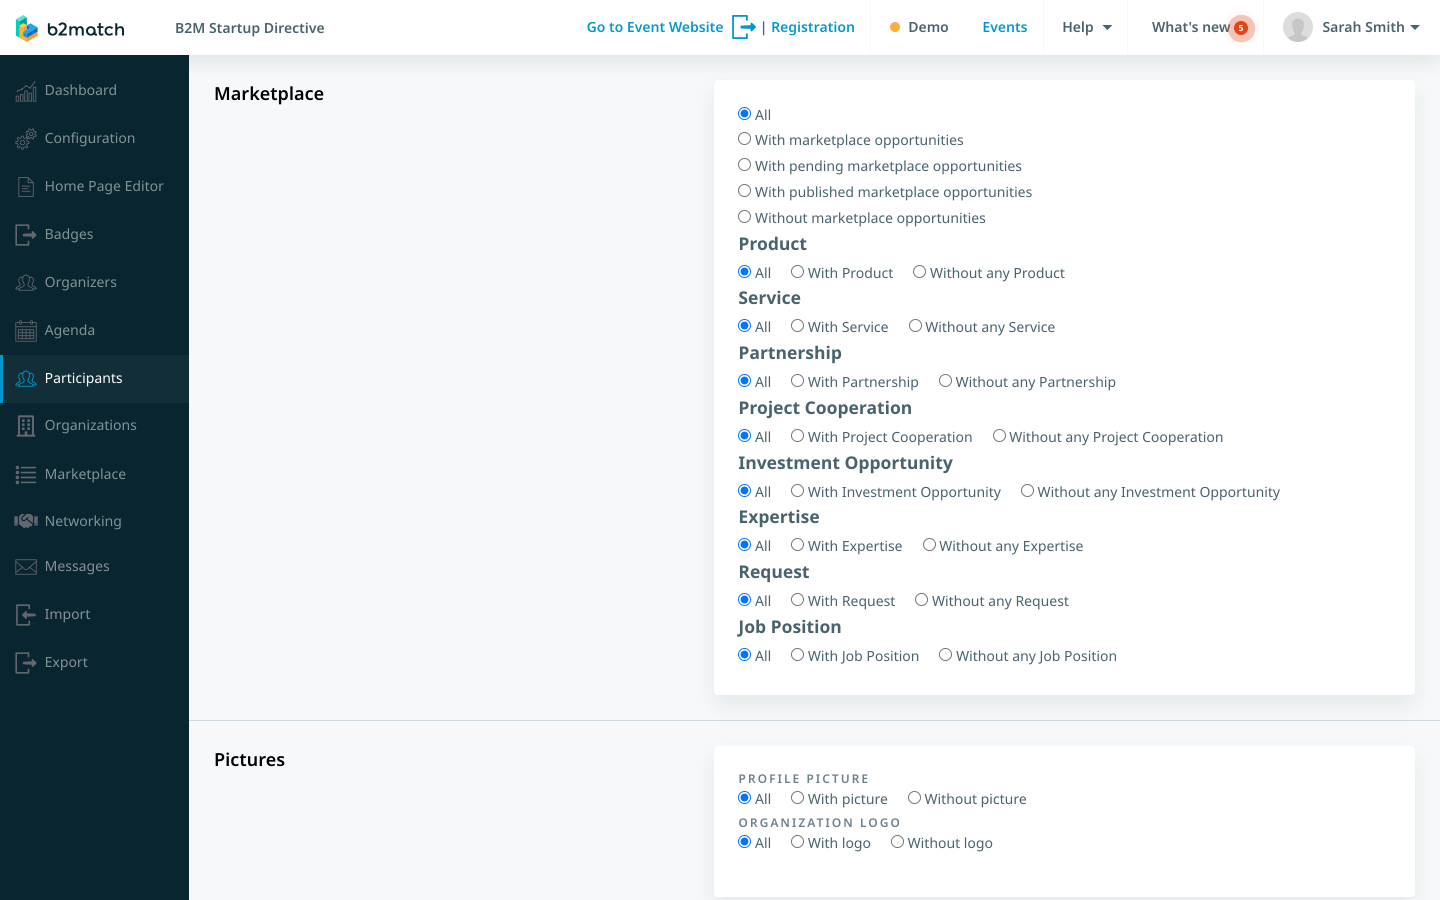
Marketplace
In the Marketplace section, you can filter your participants based on their marketplace opportunities. Select from options like all, with marketplace opportunities, or without marketplace opportunities. You can further specify by filtering marketplace opportunities based on categories such as product, service, partnership, project cooperation, investment opportunity, expertise, or request, with options including all, with a specific category, or without a specific category.
Pictures
In the Pictures section you can filter participants by selecting profile picture options such as all, with picture, or without picture, as well as organization logo options like all, with logo, or without logo.
Sessions
Within the Sessions section, filter participants based on their scheduled sessions. Choose between no sessions to exclude participants without sessions or select specific sessions to see who registered for them. You can choose one or more sessions as filters.

Attended online sessions
In the Attended online sessions section, easily filter participants based on their attended online sessions. Choose between no sessions to exclude participants without sessions or select specific online sessions to see who attended them. You can choose one or more sessions as filters.
Meeting blocks
Refine participant filtering in the Meeting blocks section by selecting participants based on the meeting blocks during which they marked themselves as available. Choose between no meeting blocks to search for participants without availability or select specific meeting blocks to see who is available during those times. You can choose one or more meeting blocks as filters.

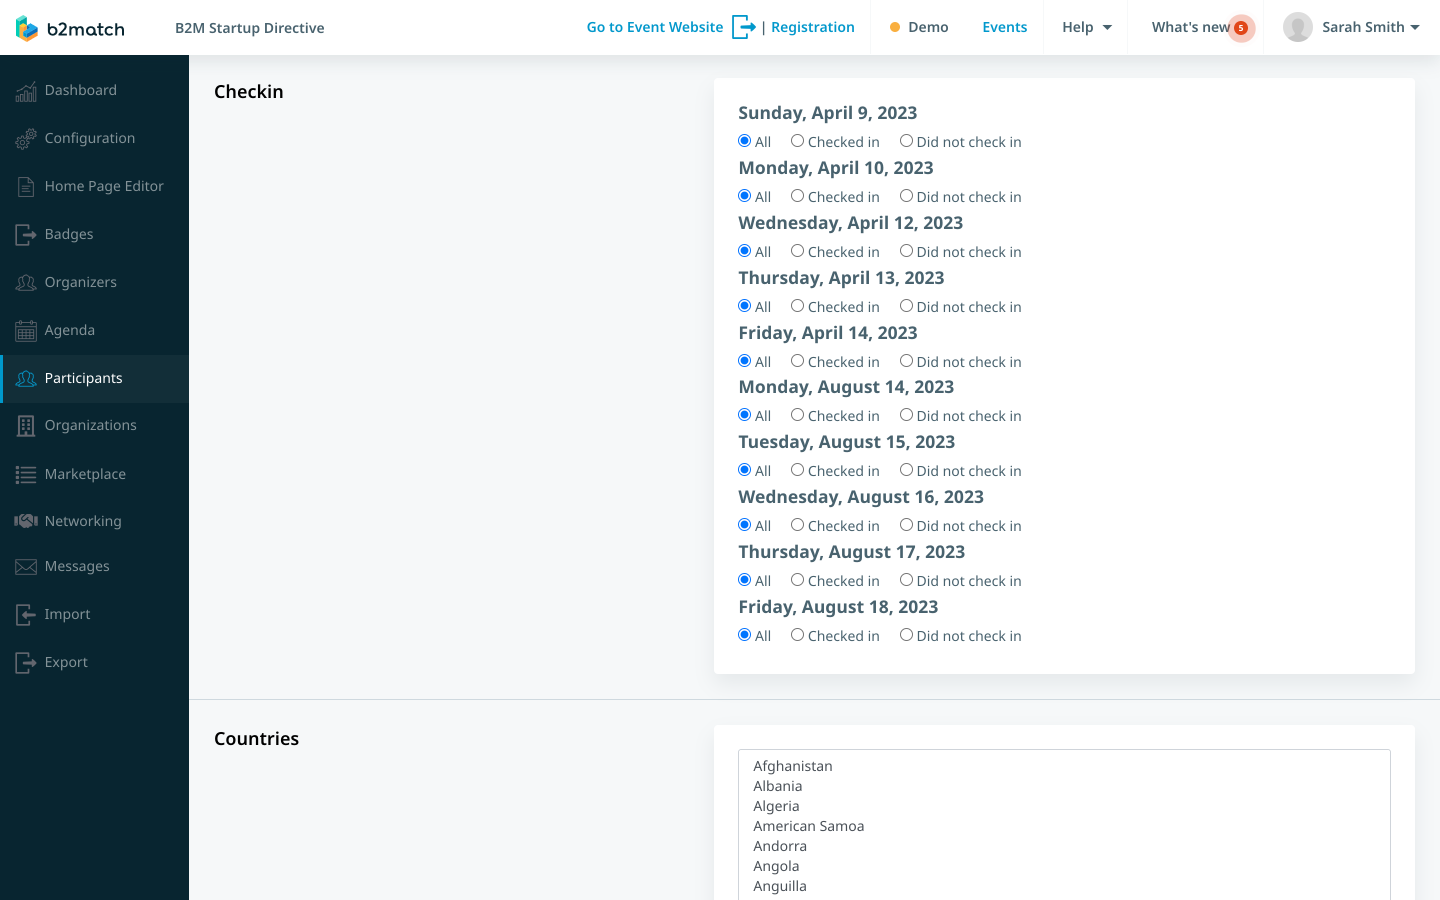
Check-in
Effortlessly filter participants in the Check-in section based on their session check-in status. Choose from options such as all, checked in, or did not check in. The displayed dates correspond to the days when the sessions take place.
Countries
In the Countries section, you can customize your participant filter by selecting their country of origin. Please be aware that you can only apply one country as a filter at a time.
Participation type
Within the Participation type section, conveniently filter participants based on their specific participation type.
Custom questions
In the Custom questions section, filter your participants based on their answers to your custom questions.
Feedback
Within the Feedback section, you can choose to filter your participants based on if they have answered feedback questions. Choose from options such as all, has answered feedback questions, or has not answered feedback questions.
Invited
The Invited section allows you to filter participants based on whether they have been invited to the event or not. Select from options like all, yes, or no. To learn more about event invitations, refer to the article on sending event invitations.
Email verified
In the Email verified section, you can choose to filter participants based on whether they have verified their email addresses. Choose from the following options: all, yes, or no.

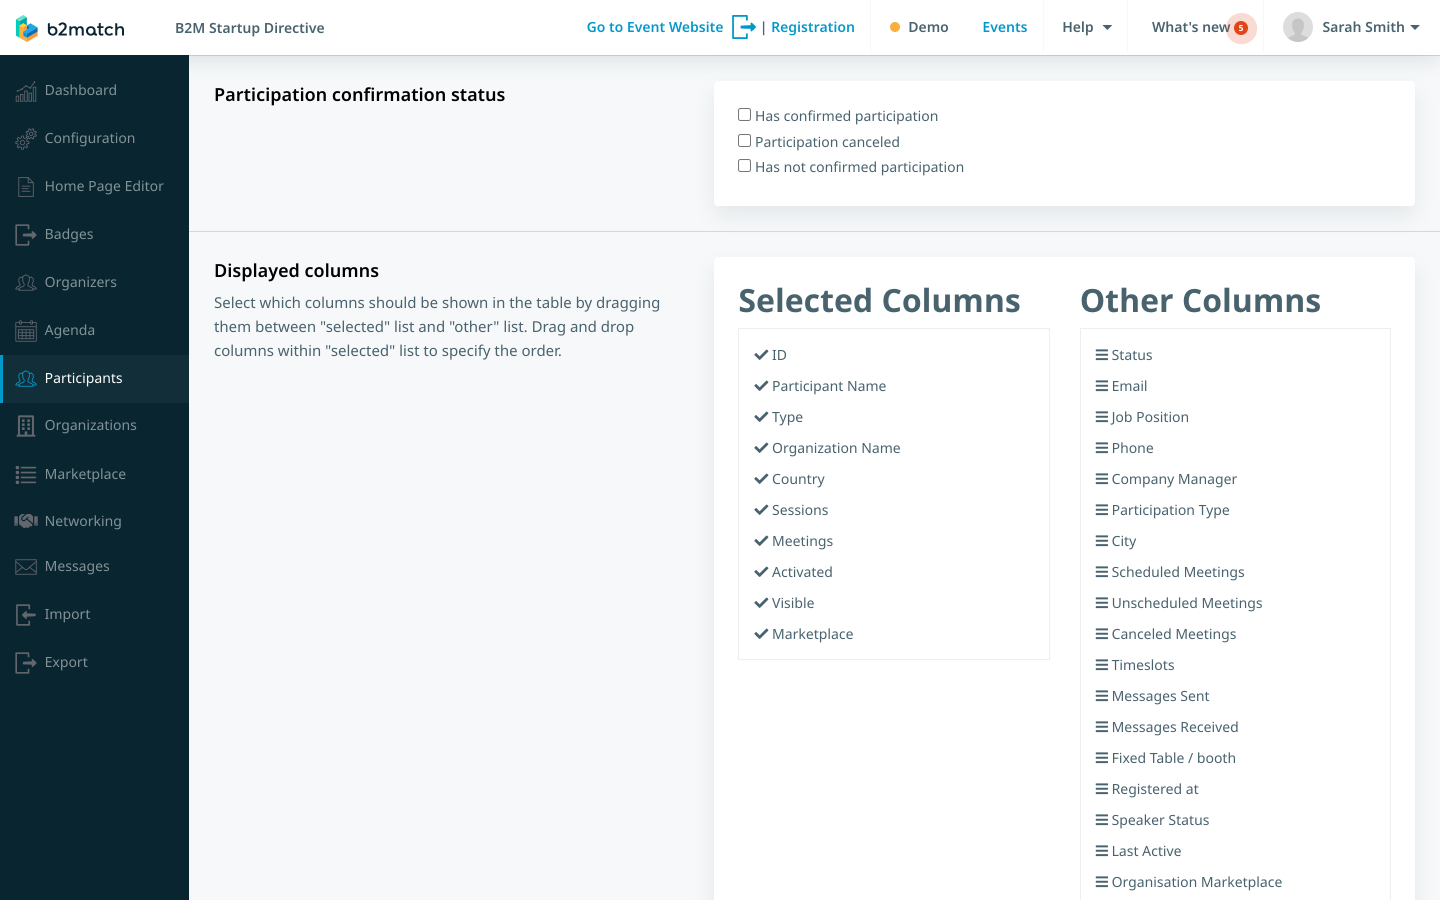
Participation confirmation status
The Participation confirmation status section allows you to filter participants based on their confirmation status. Choose between participants who have confirmed participation, those whose participation has been canceled, or those who have not yet confirmed their participation.
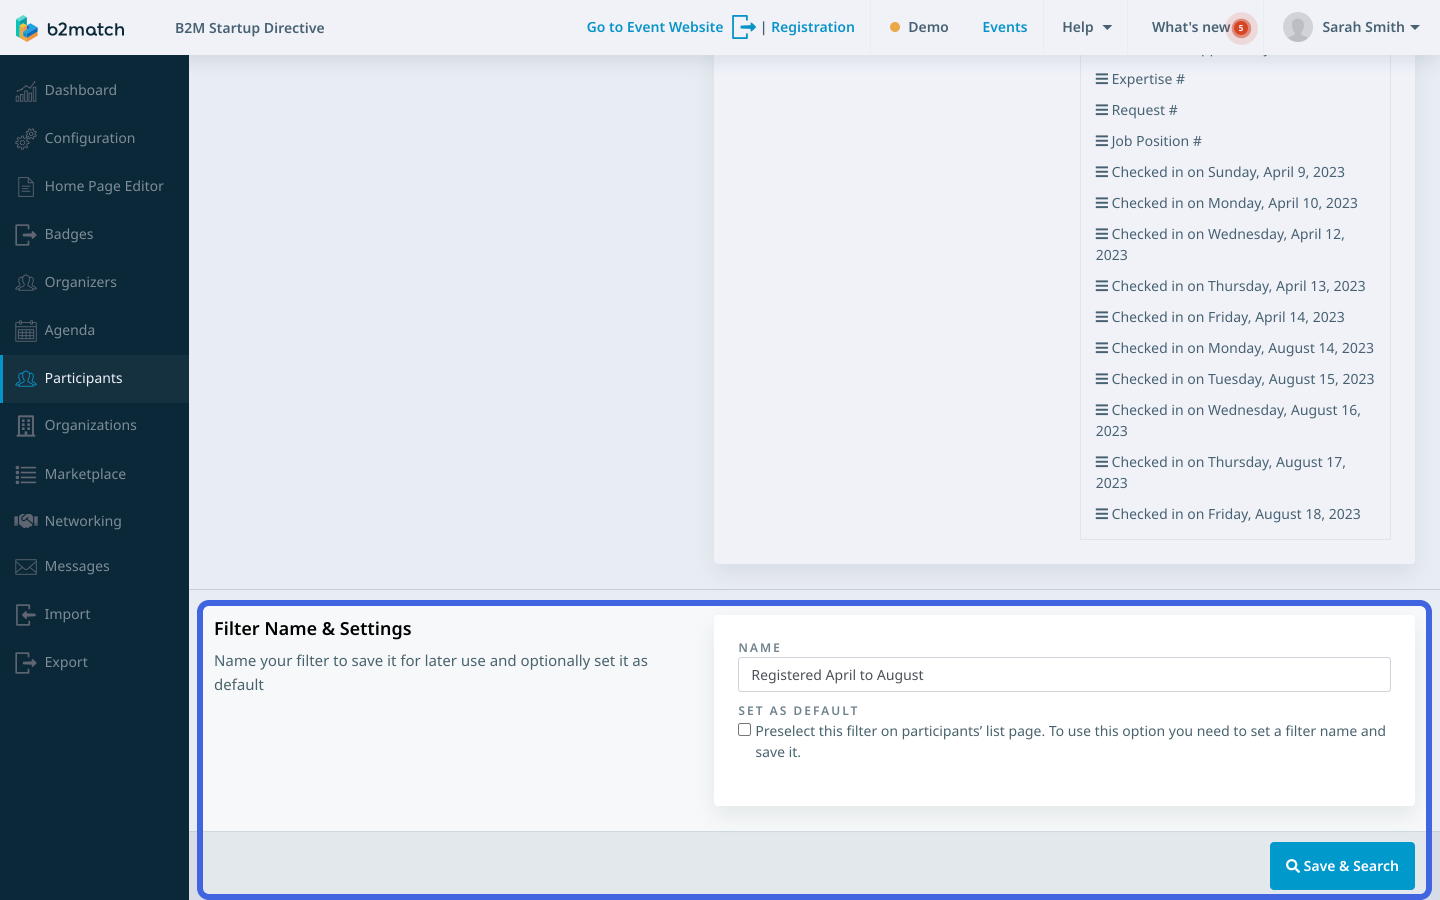
After you’ve specified the filter, assign a name to it and enter it in the Filter name & settings section. Then, click on the Save & Search button at the bottom of the screen.
This will open the participant list, showing only those who meet your specified filter criteria.
Creating filters on the organization list
For creating a filter on the organization list, first click on Organizations on the left sidebar of the Organizer’s Tool to open the organization list.
To create a new filter, click on the Advanced search button.
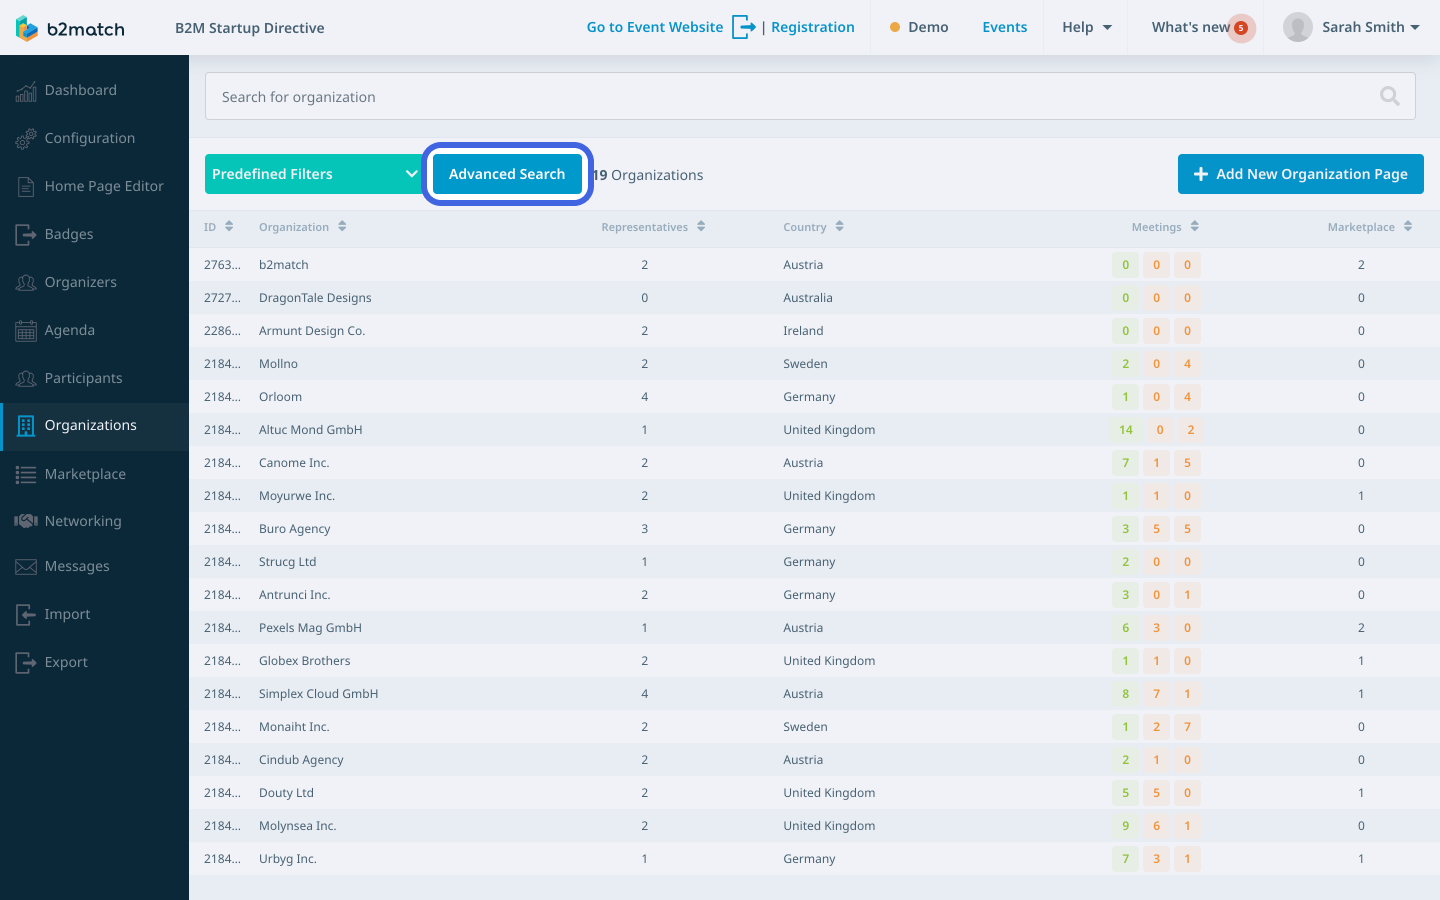
Advanced search grants you access to a multitude of filtering options, conveniently organized into various sections:
Text search
Within the Text search section, you can filter organizations by searching for their names. Just enter the desired organization's name in the provided text field.
Countries
In the Countries section, you can customize your organization filter by selecting their country of origin. Please keep in mind that you can only apply one country as a filter at a time.
Organization type
In the Organization type section, effortlessly filter organizations based on their assigned organization type.
Admin's participant type
Within the Admin's participant type section, you can filter the organization list by the participant type of the organization page's admin.
Areas of activity
The Areas of activity section enables you to filter the organization list based on the organizations' respective areas of activity. Simply select the desired area of activity for filtering, and you can choose more than one at a time.
Sponsor group
In the Sponsor group section, you can filter organizations based on the sponsor group they belong to. Just mark the box next to the sponsor group you wish to use as a filter. You can select multiple sponsor groups simultaneously.
Marketplace
In the Marketplace section, you can filter your organizations based on their marketplace opportunities. Select from options like all, with marketplace opportunities, or without marketplace opportunities. You can further specify by filtering marketplace opportunities based on categories such as product, service, partnership, project cooperation, investment opportunity, expertise, or request, with options including all, with a specific category, or without a specific category.
After you specify the filters by which you can find participants, give it a name, and type it in the Filter name & settings section. Then, click on the Save & Search button at the bottom of the screen.
How can I delete a filter?
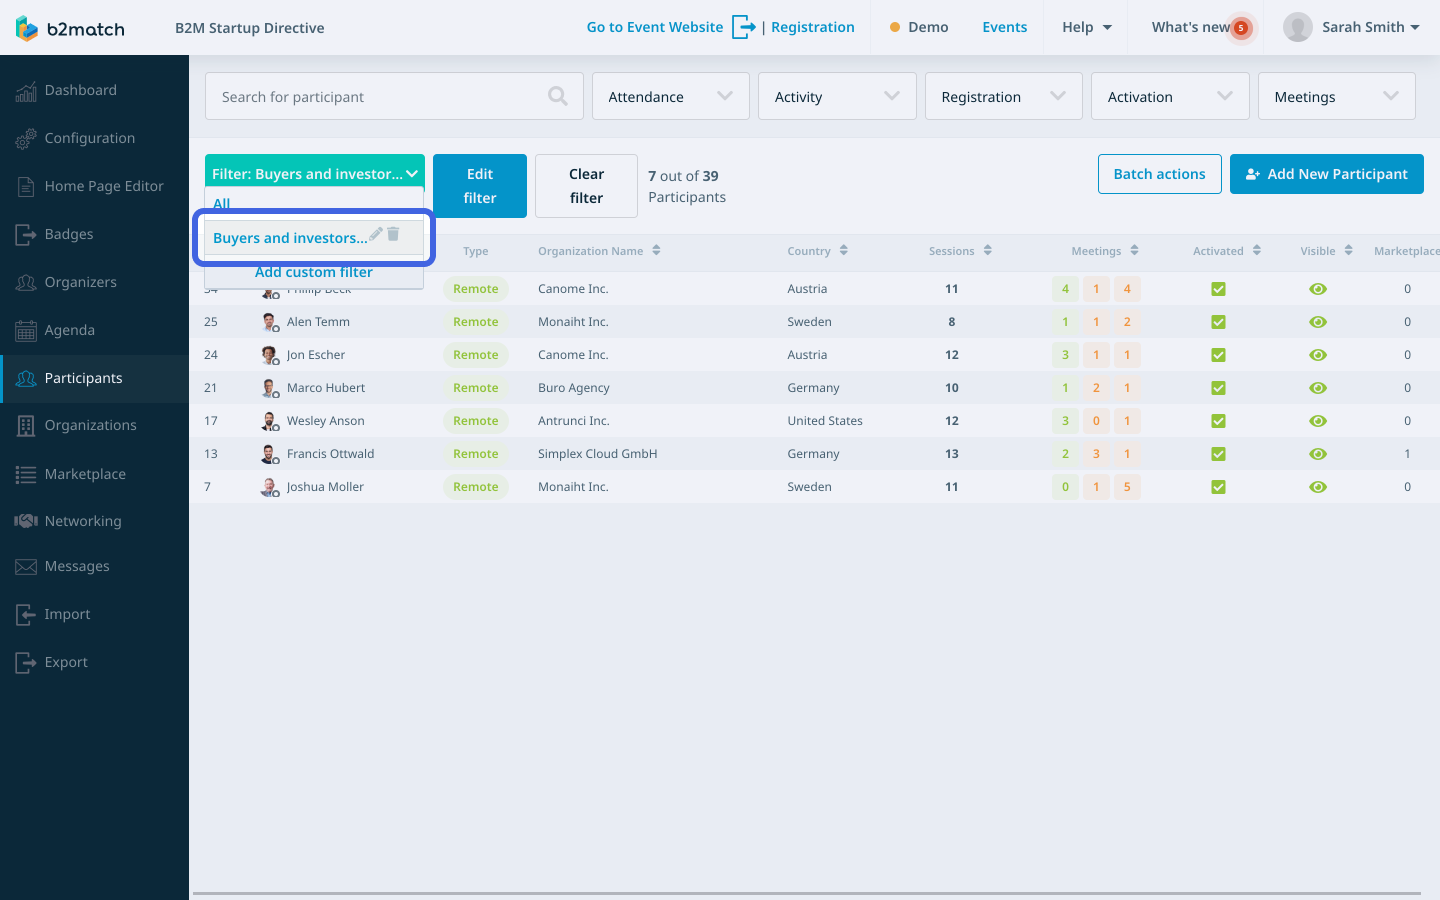
To delete a filter, first click on the teal button displaying the name of the currently applied filter.
This will open a drop-down menu containing all the filters you have created.
To edit a filter, click on the pencil icon located next to it.
If you wish to delete a filter, click on the bin icon next to it.
If you didn't find an answer to your questions, please get in touch with the Support Team here.
